Guess what? This post is a two-fer! A finish PLUS a (brief) tutorial! Whee!
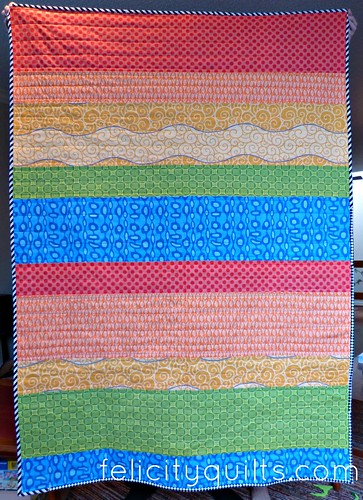
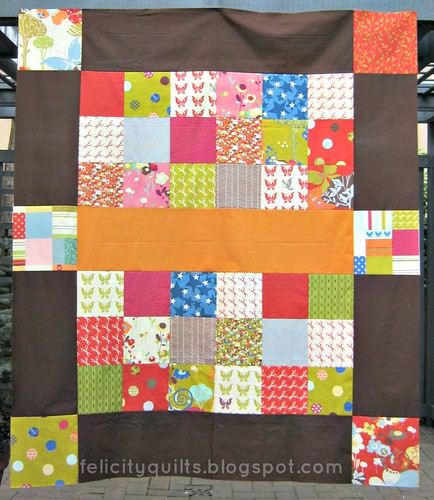
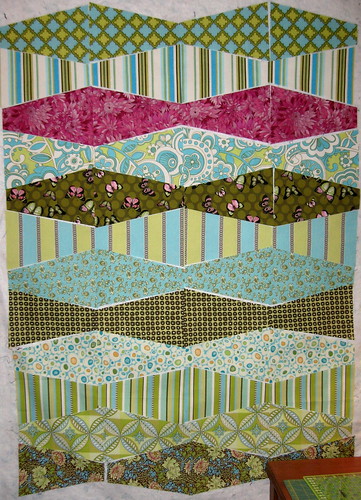
I made this quilt for a coworker's ringette fundraiser, so it counts as my charity quilt finish for Q1. Wait, is that a three-fer? Anyhoodle, I am tickled to introduce Strippy Rainbow:
Finished size is 42"x60"
I started this project with a different fabric pull, using a focus fabric and choosing coordinates. But along the way, the focus fabric got dropped and I added the orange to make this closer to an actual rainbow.
Serendipitously, I found this fabric for the backing. It's like it was made for this quilt! I couldn't have been happier when I re-discovered it in my stash!
It's the other half of an IKEA duvet cover. I used the first half backing G's
Rainbow I Spy.
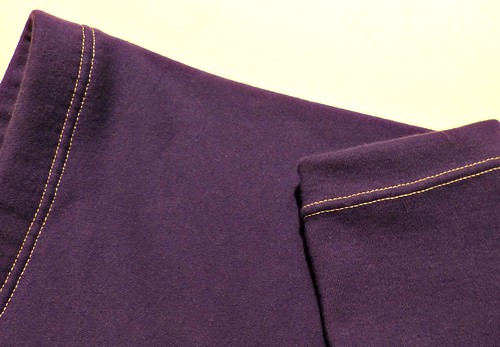
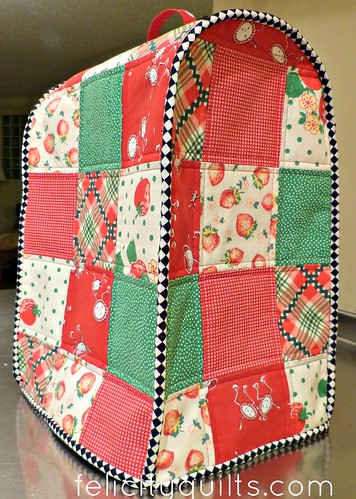
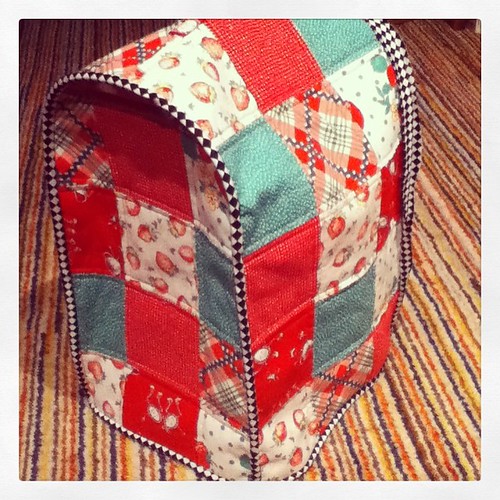
For the binding, I went with a black and white stripe cut on the bias and supplemented with some leftovers from the appliance cover binding. I love how it offsets the rainbow!
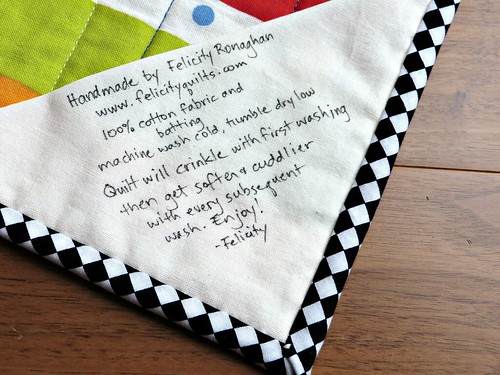
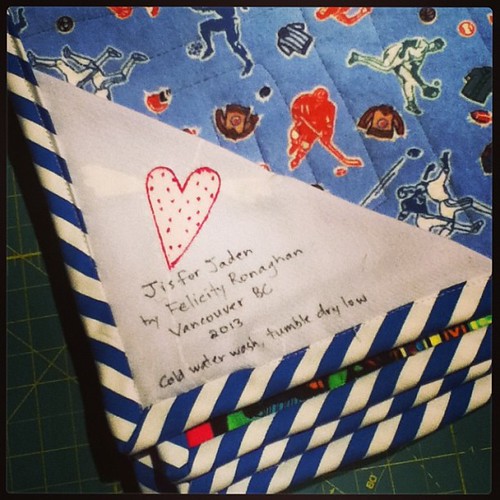
Here's the label I made, giving the care instructions for the quilt.
So, you wanna know how to make this quick and easy kid-size lap quilt? Read on!
Strippy Rainbow Lap Quilt - A Tutorial
Fabric Requirements (assuming 42" wide):
- 1/3 m (1/2 yd) EACH of 5 fabrics (red, orange, yellow, green, blue)
- 2/3 m (3/4 yd) striped fabric for bias binding (for 2-1/4" strips - get a full metre or yard if you want to cut wider binding strips)
- about 1-3/4 m (2 yd) backing fabric
- 6-1/2" square of light-coloured fabric for label
- batting at least 46"x64"
Instructions:
1. Cut 1 strip 8-1/2" x WOF (width of fabric) and 1 strip 4-1/2" WOF from EACH of the five fabrics.
2. Lay them out in Red/Orange/Yellow/Green/Blue order, alternating the widths like so:
3. Stitch the strips together. They likely won't be the same width - mine weren't. What I did was line up the fold in the center of the strip (I don't prewash so the fold from being on the bolt is still there) and pin outward. You could also match just one edge and go from there. The quilt will be trimmed later in any case.
4. Piece the backing whichever way you want so that it is at least 4" wider and 4" longer than your quilt top (I told you this was brief!). Don't trim those uneven edges of the quilt top yet!
5. Layer and baste the quilt top, batting and backing.
6. Quilt. I quilted straight lines from edge to edge with my walking foot, using the seams to guide some lines, and eyeballing the distance between the other quilting lines as required. The wider strips ended up with 5 lines of quilting and the narrow strips had 3 lines of quilting. If you are a little less laissez-faire than I, you could mark the lines with painter's tape or use the seam guide on your walking foot. Alternatively, this layout is fabulous for featuring FMQ. The size of the quilt is really manageable too so maybe use this project as an opportunity to practice your FMQ!
7. NOW you can trim your quilt's vertical edges so that they're even with the shortest strip, and square up your quilt.
8. Make the label. Fold the 6-1/2" square of light coloured fabric in half on the diagonal, and write the quilt's information on it. Turn your quilt to the back and line up the raw edges of the triangle with the bottom left corner of the quilt back. Pin in place and stitch it in place with a 1/8" seam allowance.
Note: label is attached before attaching binding - don't let the photo mislead you!
10. To make the binding, cut a 26" square from your binding fabric and use the tube method to create a 2-1/4" wide continuous length of binding. (I use
this tutorial).
11. Fold your long binding strip wrong sides together, and attach to the front of the quilt top with a 1/4" seam allowance. Machine sew or hand sew the binding to the quilt back.
12. Enjoy your new quilt.
Any questions, feel free to email me - my email is on my About page at the top of the blog.
I'm counting this toward my
Q1 FAL goals!
Leanne She Can Quilt is hosting- come and see what it's all about!