Showing posts with label 2012 finishes. Show all posts

Tuesday, January 1, 2013

2012's Projects, December's Just Three and 2013 Goals

It's funny - I do the same thing every year when I mentally compose my recap post. I assume I did very little and then I'm pleasantly surprised when it turns out I actually did a lot!

This year's recap was no exception. When I started making my mosaic, I selected a 4x4 layout, planning to use the blank square(s) to insert a title. As it turns out, I made a few more than 16 things in 2012! Go, me!!

2012 Roundup
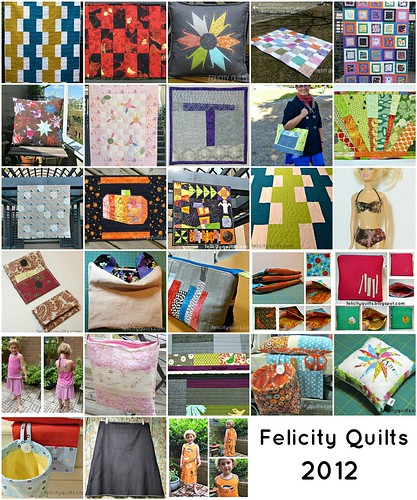
Click through to Flickr for the individual links for each photo.

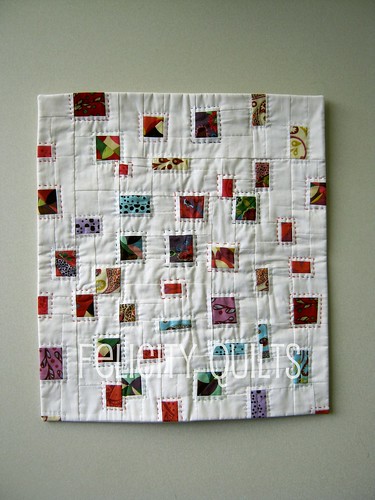
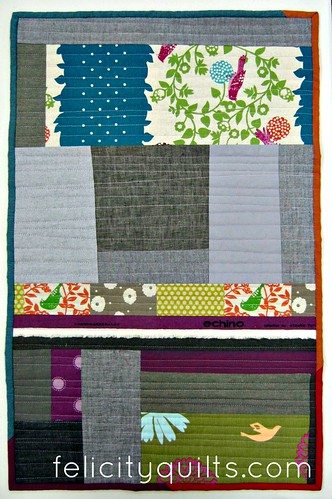
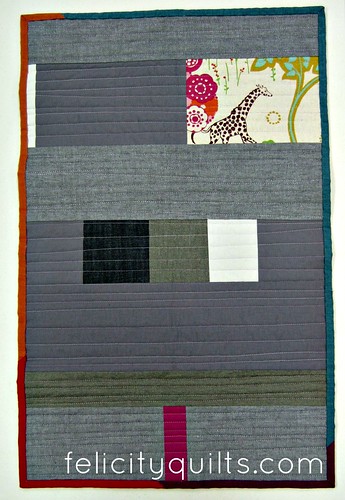
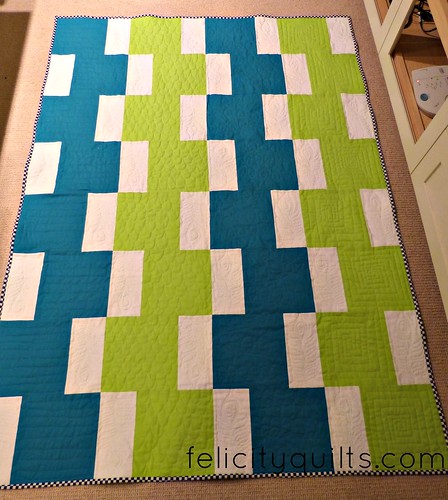
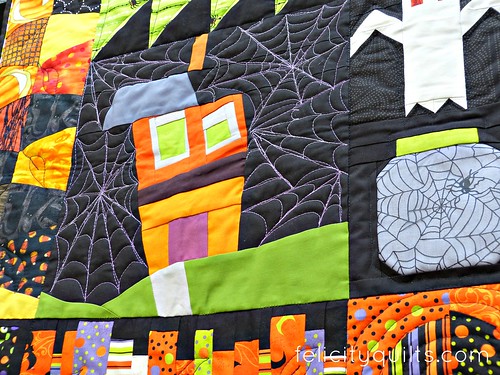
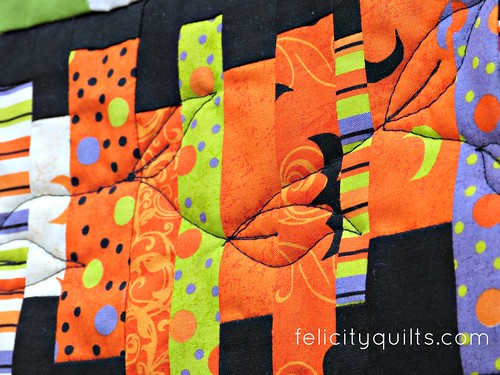
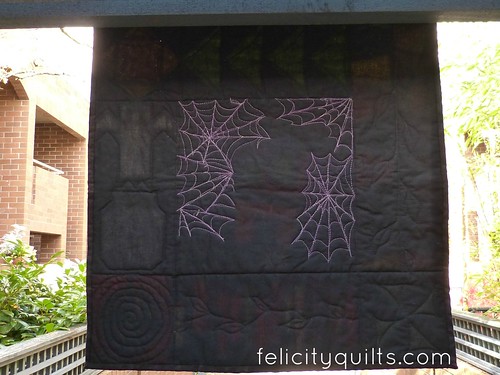
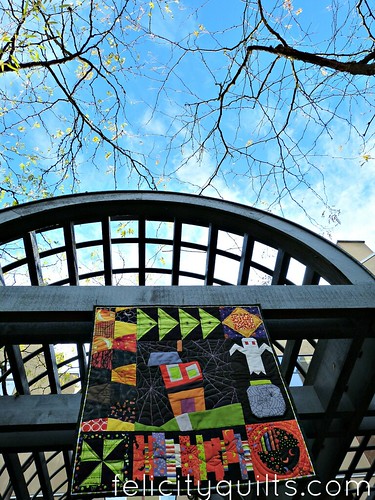
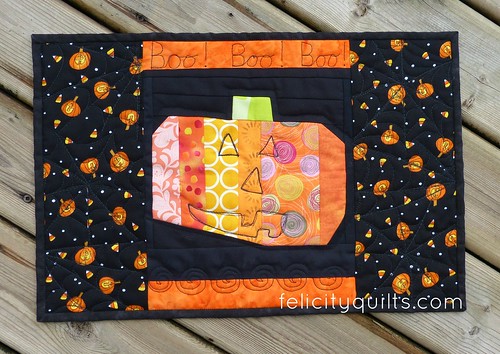
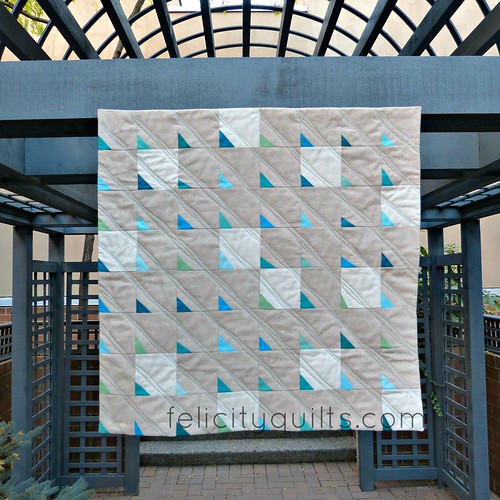
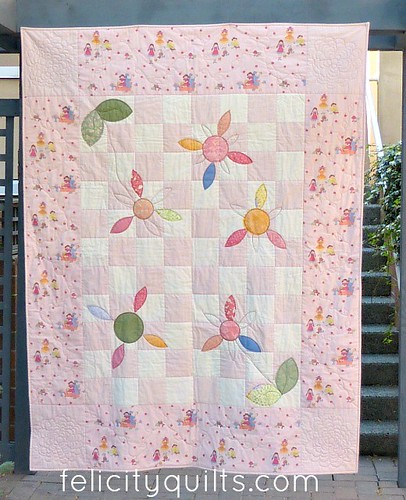
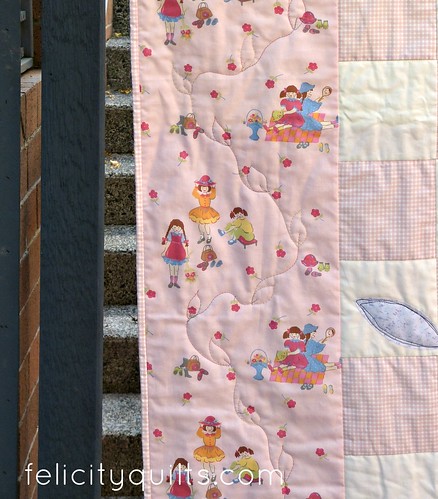
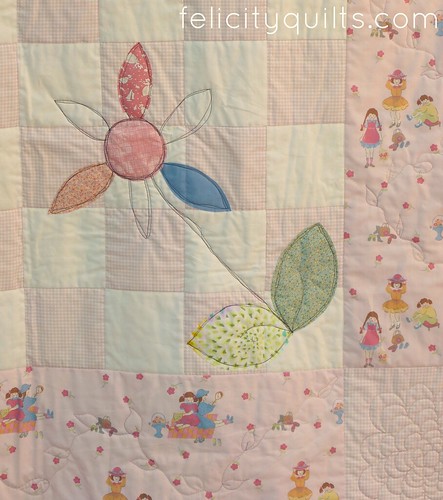
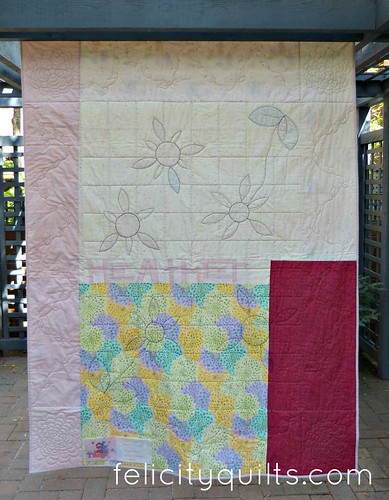
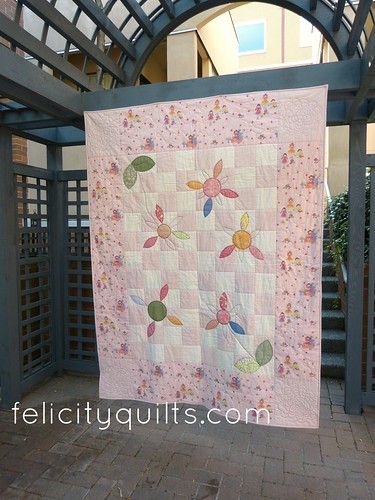
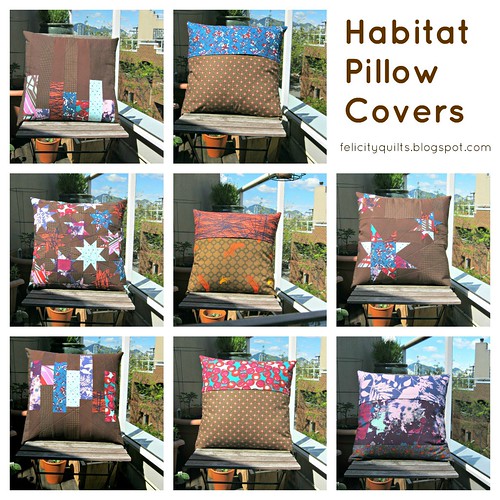
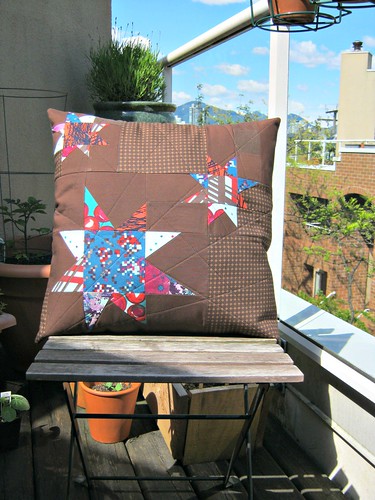
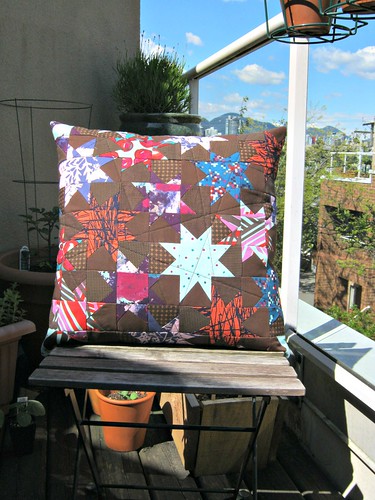
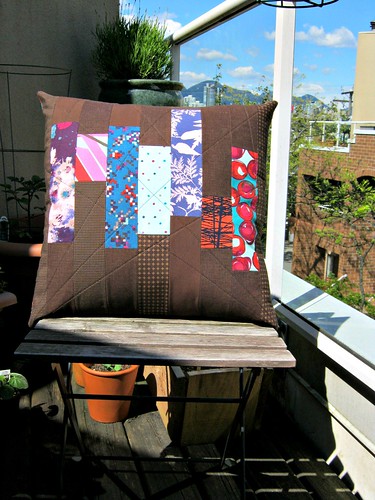
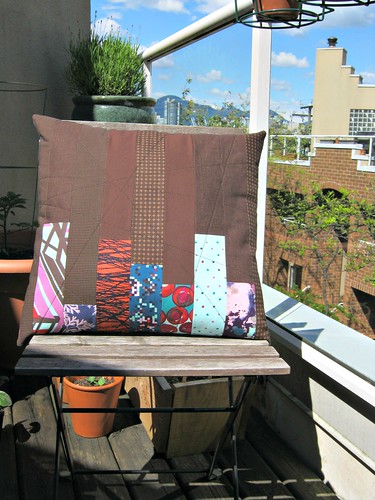
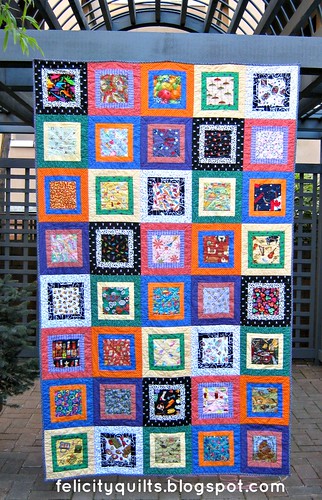
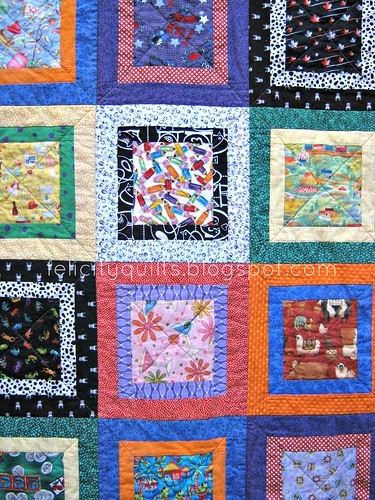
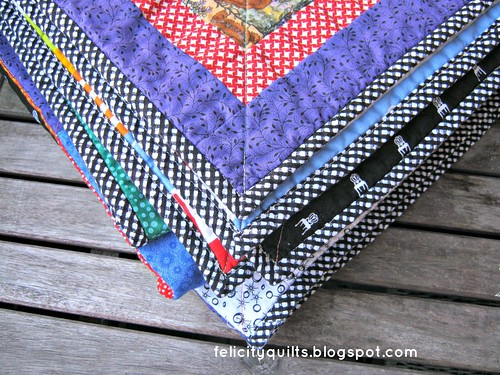
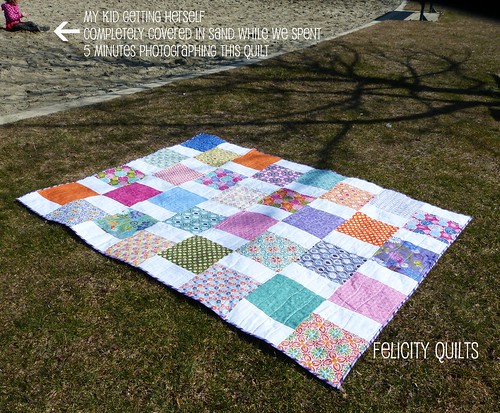
I made quilts, some placemats, pillow covers, a bunch of clothes (for me, for G and for the Barbies), a couple of mug rugs, a fair number of pouches, a couple thread catchers, a cover for Bernie (my machine) and a bunch more stuff. I also wrote a few tutorials, taught my first workshop and joined the executive of the Vancouver Modern Quilt Guild. It appears that my 2012 project theme was "variety" - I'm really proud of that!

So my December Just Three goals were:

1. Make a new outfit for each of G's Barbies. YES - birthday present!
2. Make at least 2 of 5 teacher gifts. YES - reusable shopping bag and 2 gift card holders.
3. Make myself a black pencil skirt. YES! Post with photos to come!

traceyjay quilts

My 2012 goal was to sew more for me and my family and I am glad that I did that. I have been thinking about goals for 2013, and I've concluded that 2013 is going to be the year of Finishes. To that end, I'll be joining in the quarterly Finish-A-Long hosted by Leanne of she can quilt. I'll have a separate post on that in the next week or so. Until then, I hope the first day of 2013 treated you well and I wish you many good things for this year.

Update: I forgot to state my Just Three for January!

1. Complete the second appliance cover for my friend Cathy.
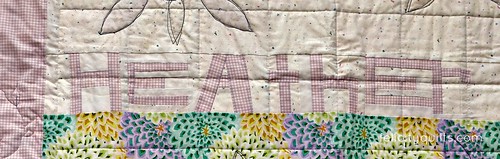
2. Make baby quilt for my niece who's due in February.
3. Donation quilt for a friend's fundraiser.


Monday, November 26, 2012

Improv Sewing Machine Cover

I've had a sewing machine cover in the works for a long time. As in nearly three years.

I started this project, intending to make it into my sewing machine cover, but it ended up wanting to be a mini quilt and who am I to argue?
Confetti Quilt Full Frontal

Fast forward a year and a half, and I still hadn't done anything about my poor nekkid machine. Enter Krista's scrap destash. I bought a large ziplock stuffed to the gills with fabulous grey fabrics including linen, Kona, denim and chambray. Truly delightful.

I also bought a scrap pack of Wonderland because I have an inexplicable addiction to that fabric line even though it apparently causes me to lose all reading comprehension skills. Lovely Krista listed and accurately described the Wonderland scrap pack but somehow I read that it included some Echino scraps. As I was paying for my purchase on Etsy, I nerded out about the Echino scraps in the comments box, gushing about my luck in finding a scrap pack that included both.

Being the excellent Etsy shop owner that she is, Krista gently and kindly managed the idiot customer's (me) expectations and clarified that the scrap pack didn't, in fact, include Echino.

However, being the excellent person that she is, Krista included a few bits of Echino in the package, including a fantabulous selvage piece that formed the basis of the whole project. Thank you, Krista!!!

Are you still there? Not bored to death yet? Great! Photos ahoy!

machine cover front

This project is entirely improvisationally pieced, and I had a blast making it. So relaxing and low-pressure. The back was constructed the same way.

machine cover back

The whole thing was quilted with 50wt Aurifil in a variegated purple thread (colour 3840). The binding was courtesy of another Krista, who just happened to have it with her at the Loon Lake retreat. The shot cottons matched the Echino scraps perfectly - I couldn't imagine a more perfect finish for this quilt! It measures about 19" x 30" and I added some purple cotton twill for ties on either side.

I drape the cover over Bernie and it makes me happy every time I see it. I'm linking this project up with Sew Modern Monday, Manic Monday and Fabric Tuesday (buttons all on my sidebar).

Monday, October 29, 2012

Bloggers' Quilt Festival - Fall 2012

Amy's Creative Side

Hello! If you're here for the first time, welcome! If you're a regular, welcome to you, too!

I truly didn't think I'd get a quilt done in time to share, but the stars aligned this past weekend and I got lots of time to finish up one of my WIPs.

Land and Sea for Siblings Together

I'm calling this quilt Land and Sea and it's my own design (patttern coming soon!). These photos are the pits - sorry! - but it's that time of year.

I've had this quilt backed and basted for a long time, but the quilting stumped me. I asked for advice, and got some great suggestions but I admitted to myself what I had known all along: that this quilt needed some funky FMQ.

Land and Sea for Siblings Together

I'm really, really happy that didn't rush the quilting like I usually do. I was willing to spend the time needed and I'm super pleased with the results. I still need a lot of practice, but I'm satisfied for now.

Land and Sea for Siblings Together
Like those plume feathers? ME TOO! I am so happy with how they turned out 
(thank you, Free Motion Quilting by Angela Walters!)

I used my beloved Aurifil thread. The blue and green are 40wt, and for the first time ever, my machine and Aurifil didn't see eye to eye. The clattering was so bad, I was afraid I was doing permanent damage so I switched to the white 50 wt in the bobbin, and it solved the problem but I was so sad that I couldn't use the coloured thread in the top and bottom!

Land and Sea for Siblings Together

I pieced the back in a pattern that echoes the front. I likey. The fabrics are Kona solids in Chartreuse and Turquoise, and the binding is a black and white check I found in my stash.

This quilt is destined to be given to Siblings Together, a charity devoted to bringing together siblings who are "in the system" and have been separated from their siblings.


Blogger’s Quilt Festival Stats
Linky #439
Finished quilt measures : 44" x 60"
Special techniques used : Quilt is my own design.
Completely Free Motion Quilted by me on my Bernina 145.
Best Category : Favourite Throw Quilt, Favourite Home Machine Quilted Quilt

Thanks for stopping by, and please do go and see all the gorgeous quilts on display at Amy's Creative Side!

And I'm also linking up to Sew Happy Geek's Manic Monday and Quilt Story's Fabric Tuesday linkies!

Sunday, October 21, 2012

Spoooooky Halloween Mini and Placemat

So here's the thing. I'm not Halloween's biggest fan (I say this with sincere apologies to my friends who ARE fans - Amy, Riel, you spring to mind), because I don't like how Halloween has become yet another over-commercialized crap-acquisition opportunity.

But I have to say that winning the VMQG Halloween Block Lottery last year went a ways toward warming my cold, black Halloween non-fan heart.

Look at the cute mini I was able to make with blocks made by my lovely VMQG peeps:

halloween mini
It's 24" x 24".

I'm particularly pleased with my quilted spiderwebs! I used a purple variegated thread (Aurifil 50 wt #3840).

halloween mini quilting

And black for the rest.

halloween mini quilting leaves

This is the back, which shows all the quilting:

halloween mini back

I was so pleased to be able to zip out during a break in the rain, and take photos under a beautifully clear fall sky.

halloween mini and fall sky

There was one leftover block from my winnings that didn't fit into the mini, so I turned it into a seasonal placemat for G, who drew the Jack o' Lantern's face. More spiderwebs on this one:

boo! placemat

Linking up to these linky parties - click the buttons to come and check 'em out!:

{Sew} Modern Monday at Canoe Ridge Creations

Sew Happy Geek
Fresh Poppy Design

Sunday, October 14, 2012

Sea Glass on Sand

Sea Glass on Sand is finished!

Sea Glass on Sand

I had so much fun working on this little project, mainly because it was one of those "just because" things. I found those little triangles ("shards") and simply needed to make something with them. I stitched them onto the corners of 4½" squares of Kaufman Essex Linen in Natural and Kona Bone, then flipped them over and trimmed. Memories of Leanne's beautiful Atmosphere were floating in my head while I made it - thank you for the inspiration, Leanne!

Sea Glass on Sand detail

I asked for advice on the binding here, and the overwhelming response was Aqua. Thank you for your help! I tried out bits of every colour and found that every option except the mottled print blended in with the quilt at some point around the perimeter - the Aqua against the Aqua triangles, the Bone against the Bone squares, etc.

Sea Glass on Sand facing

In the end, though, as you can see, I went with a no-show facing/binding. I used this tutorial. The method is super easy and gives really good results, I think.

The quilting is meant to look like water waves, so I used my trusty Aurifil 40 wt in a lovely Aqua colour (#5006) and quilted those organic wavy lines using my walking foot. I did mark the diagonals first so that I could keep on a relatively straight path across the quilt.

Sea Glass on Sand back

The quilt measures about 32" square, and I plan to hang it over our bed. (Here in the earthquake zone, you don't ever hang anything heavy over your bed, but a wallhanging is just fine).


Sea Glass on Sand_


I'm really pleased with this finish, so pleased in fact that I plan to enter it in the QuiltCon quilt show - why not, right?

It feels like it's been a while since I've had a finish, so I'm linking up all over the interwebs: {Sew} Modern Monday at Canoe Ridge Creations, Manic Monday at Sew Happy Geek, Fabric Tuesday at Quilt Story and TGIFF/OctoberQuest hosted by Echinops and Aster.

Be sure to come back soon - I've got a giveaway for you in the next couple of days.

Monday, September 3, 2012

Memory Quilt for Heather (Lotsa Photos!)

This quilt is one of my longest-standing WIPs, and I'm so happy that it's done. Not because I grew tired of it and got to the "ohmygodjustbefinishedalready" stage; rather, my friend Anne made the mistake of telling me that there was "no rush" on this project.

"No rush" became years. Seriously. It's embarrassing. But I hope she feels it was worth the wait!

Memories of Dressing Up

Heather is my friend Anne's daughter, and she is close to turning 15 years old. (Way to make me feel old, Heather - I remember meeting  you when you were less than two weeks old!) A little while ago, Heather and Anne redecorated Heather's room, replacing her "little girl" pinksplosion décor with something more appropriate for a teenager.

But Heather has a soft spot for her old look, and who wouldn't? There was a bed canopy, walls covered with two-tone pink stripes, matching curtains, the whole bit - all done by my very talented friend Anne, I might add. So Anne gave me the fabric leftovers and asked me to make Heather a memory quilt.

I knew that the quilt would have to have some lovely wide borders to show off the adorable print (called "Dressing Up" by Laura Ashley). Serendipitously, there were two long pieces of fabric cut on the length of grain.

Border Quilting

I paired the coordinating gingham with some Kona Snow to make the low-volume patchwork centre, and brought out the border colours in the large flower appliqués.

Quilting

Before adding the appliqué, I quilted the whole thing in the ditch all around the patchwork and borders. Then I quilted the cornerstones and borders with some variegated thread by Signature that I had in my thread stash, and which coordinated beautifully. I took my time with the FMQ and I'm pretty happy with the results.

Cornerstone Quilting

Next, I used fusible web to adhere the appliqué shapes. That scribbly stitch was fun to do on the preschool and family tree quilts so I busted out the 28wt Aurifil in dark brown and went to town.

Border and Applique

I pieced the back and pieced in Heather's name with free-pieced letters just because.
Memories of Dressing Up Back

Pieced Name

The quilt finishes at 60½"x78½" prewashing. A generous lap quilt for Heather, a tall, willowy brunette.

Memories of Dressing Up

I called this quilt "Memories of Dressing Up" - I sure hope Heather loves it - "Auntie 'Licity" loved making it for her.

Linking up to Sew Happy Geek's Manic Monday linky as well as Fabric Tuesday at Quilt Story.

Sew Happy Geek
Fresh Poppy Design

Saturday, May 26, 2012

Habitat Pillow Covers

Yippeee! I'm so pleased to have these all done. I think I say that about all my projects - what can I say? I get bored very easily so pushing through and seeing projects to the end makes me incredibly happy.

I started these pillow covers during Vancouver Modern Quilt Guild's Habitat Challenge in late Summer of 2011, and around the same time, promised them to my sister for using on her brand-new dark brown leather couches (hence the choice of background colour). Not quite a year later, they're all done. Here's a collage* featuring them all, front and back:

Pillow Covers Collage

*new feature in PicMonkey - I think I prefer Big Huge Labs' Mosaic Maker because I don't have to settle for a square arrangement.

There are two main themes in the designs - strips and wonky stars. I settled on two quilting designs, and used both for each theme. Aurifil 28wt in dark brown (5024) was my thread of choice.

3 stars front
Radiating lines from bottom corners

wonky stars front
Random diagonal lines

strips front
Radiating

bar graph front
Random

The pillow covers finished at about 18" square. The backs used up nearly all my Habitat scraps plus a variety of browns from my stash. They also feature flaps to cover the zippers. I loosely followed this tutorial but basically worked out my own method which creates a flap with the fabric used for the top half of the pillow back. 

Rather than batting I once again used Pellon Fusible Fleece (TP971F Fusible Thermolam Plus) - it is wonderful for pillow tops.

True story: I only have one 20" pillow form, so I had to remove the Crane Star cover and dress it up 4 different times to snap the photos on my upper deck (I love our view best when there's still some snow on the mountains).

I'll be delightedly linking up this finish to Sew Happy Geek's Manic Monday, Fabric Tuesday AND Ellison Lane's Summer Sewing Contest as well (all buttons/links in sidebar). 

Saturday, May 19, 2012

Bloggers' Quilt Festival

Hello and welcome! I hope you're enjoying the Bloggers' Quilt Festival - a wonderful collection of beautiful quilts from all over the world!

I'm sharing my most recent finish for this BQF, Rainbow I Spy. It is a quilt for my 4-year-old daughter since she's outgrown the Hungry Caterpillar quilt I made her a couple of years ago.

rainbow i spy

I wanted this quilt to be fun, but able to grow with her a bit. I do like the idea of I Spy quilts but all those novelty prints can sometimes run the risk of being too young-feeling after a while.

Beginning with 6½" I Spy charms grouped by colour (including black/white), I double-framed them with strips in matching and complementary colours. Then, I arranged the blocks in ROYGBV order, inserting the black & white/white & black blocks before the R and between the Y and G. I'm really pleased with the outcome.

 i spy closeup

And so is my daughter, who hasn't let me take it off her bed long enough to stitch on the label.


I'd say it was a success!

Thanks for stopping by, and enjoy the rest of the Festival.

Amy's Creative Side

Monday, May 7, 2012

Rainbow I Spy

No one is happier than I am that this quilt is finally finished, except perhaps its recipient, my daughter.
rainbow i spy

This project was one of my longest-standing WIPs. I began it in a Quilt Along in November, 2010. I worked on it at various retreats, but kept getting bumped by other projects.

The original design was intended to work with a charm pack (which are 5" squares) but I got all fancy and chose some 6½" I Spy charms I'd amassed, so it was a bit more work what with the calculating of all new cutting measurements and whatnot. The plus side is that the quilt ended up being more or less twin sized, which works well for Miss G's bed.

i spy closeup

You may or may not be able to see it, but the colour of the charms' frames is planned. I chose the 40 I Spy charms based on what colour each one "read". Then using the colour pairings as follows - white/black, red/violet, orange/blue, yellow/green - I alternated the colours of the frames to contrast then match the charm. So the blue charms have an inner frame of orange, and an outer frame of blue.

I'd originally planned to lay out the quilt with one outer frame colour per row, but I didn't like the layout once I saw it all together. So I switched it up, and laid the blocks out sequentially in ROYGBV order with the addition of black and white in the sequence so that it was BROYWGBV.

i spy binding

It's quilted very simply: in the ditch, and in diagonal lines. I didn't even bother marking the diagonal lines; just eyeballed it and they came out very nicely if I do say so myself. Thread is Aurifil 40wt in variegated colour 3817 ("Crayons"). Binding fabric is a neat sketchy black and white gingham from the Love Me Leave Me Not line by Ro Gregg for Northcott. I did a bias binding because I love how it looks with a gingham, and this quilt is going to get a lot of washing so I wanted something durable.

i spy back

This is a 100% stash quilt (YAY! Slash the Stash for May!), and even the striped fabric you see on the back is a repurposed IKEA duvet cover that we never ended up putting to use.

Linking up for the first time what seems like a very long time to {Sew} Modern MondayManic Monday and Fabric Tuesday (buttons on the left sidebar)! Woot!

Sunday, March 25, 2012

Easy Going Modern - Take Two

We were away for a few days this past week, and I brought my second version of Easy Going Modern with me to finish up. Photographed on location in Parksville, BC!

Easy Going Modern - Layer Cake Version

The top was made with a Terrain Layer Cake, and the back is a thrifted IKEA duvet cover. Quilted in wavy lines using a few different threads, all Aurifil.

Binding closeup

I found a fun purple striped fabric in my stash and it worked wonderfully for the binding.

Easy Going Modern - Layer Cake

I purposely didn't crop out my daughter in the upper left corner - that little "imp" was undertaking a 4-year-old's version of a protest since we dragged her from the playground for FIVE WHOLE MINUTES to snap a few photos of this quilt. Ah, kids. Hard to resist this face, though, eh?

My little imp

Linking up to {Sew} Modern Monday at Canoe Ridge Creations, Manic Monday, and Fabric Tuesday at Quilt Story.