Showing posts with label sewing. Show all posts

Friday, December 30, 2016

Pillows Plus (photo heavy)

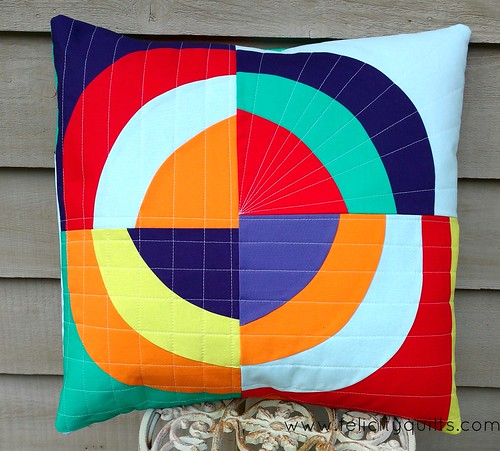
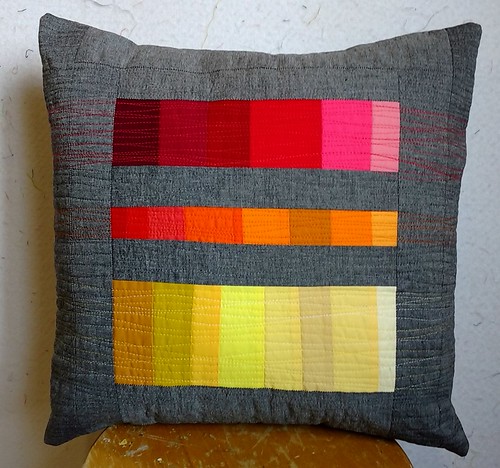
As I mentioned in my previous post, Leanne's Bee Sewcial prompt for November was really inspiring to me. In fact, I made another improv bull's eye right away and turned it into a pillow:


Improv Bull's Eye pillow front

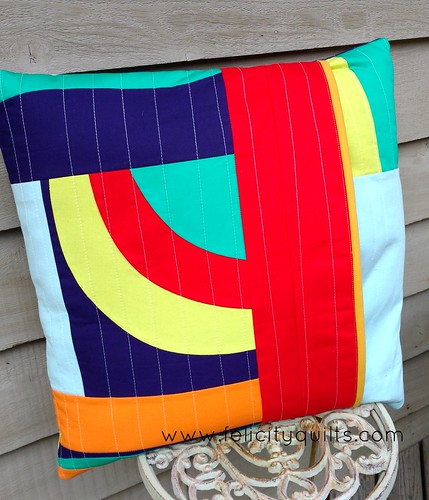
For the back, I had an extra quarter circle, so I just added to it until it was the right size, and then made a simple envelope closure:


Improv Bull's Eye pillow back

The quilting was really simple - just done with the walking foot and white thread. Super quick and effective, in my opinion.

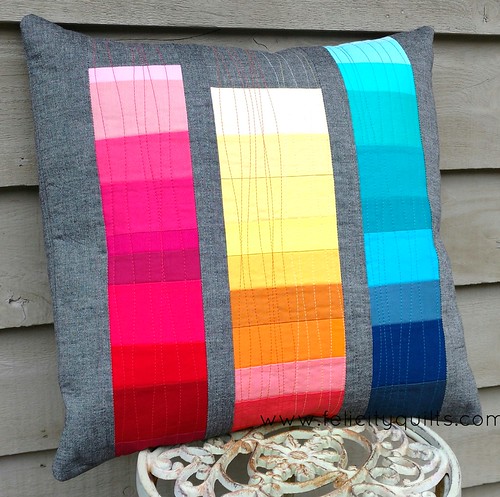
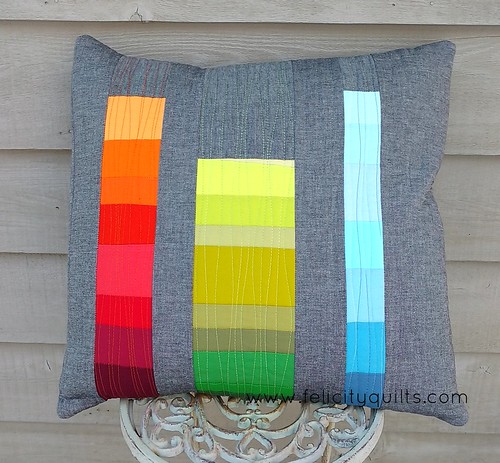
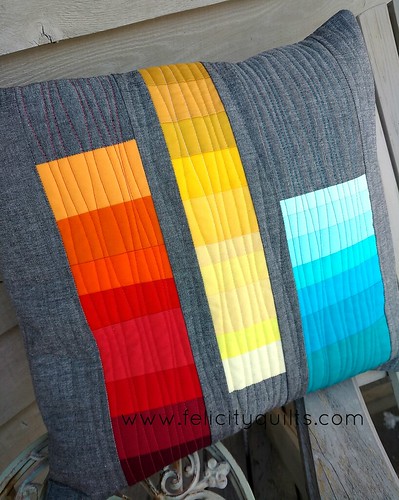
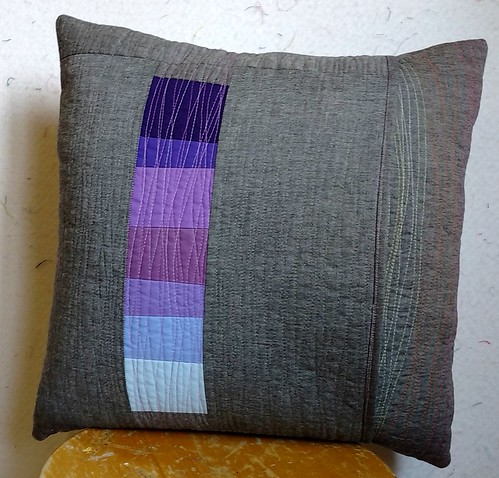
I also had occasion to make three more of my improv rainbow gradient pillows.

The first one was for the little boy who bid on the silent auction pillow but didn't win it. His mom arranged a wine for pillow trade and I was very happy to oblige:

Pillow for N, front

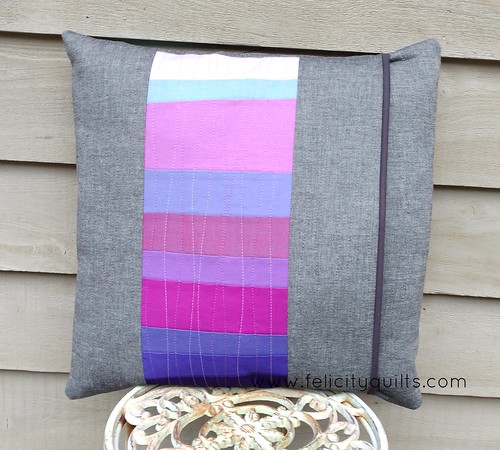
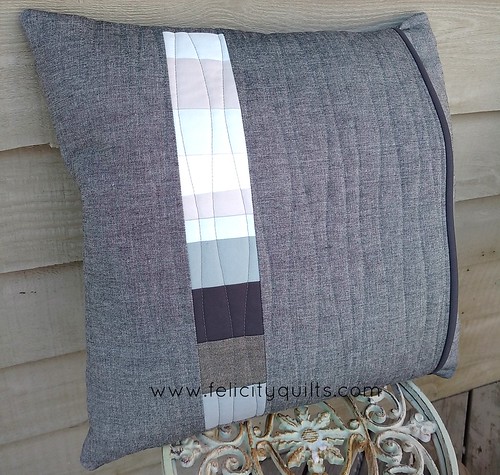
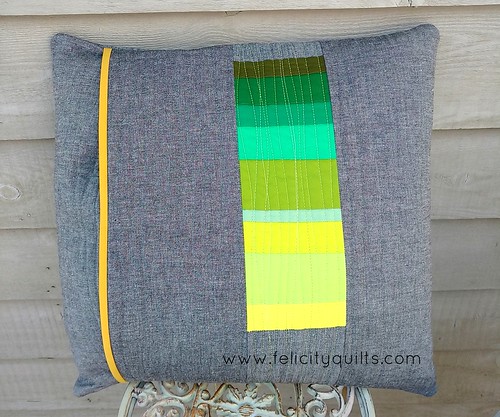
I might even love it better than the original! Back view:

Pillow for N, back

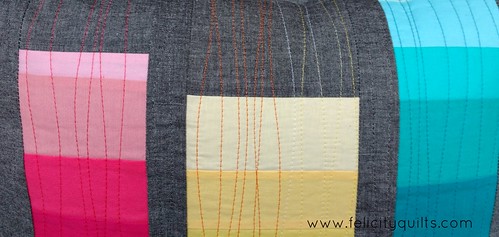
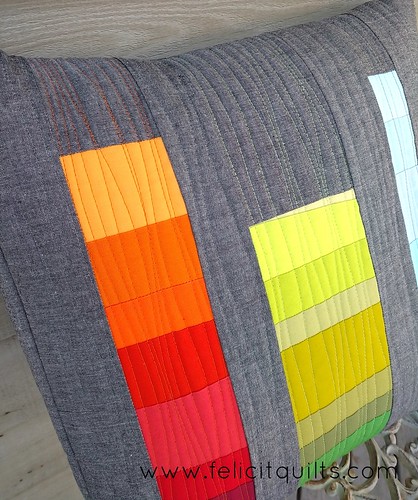
Detail shot of the quilting, all done with Aurifil in various shades:


Pillow for N, quilting detail

And those pillows being shared on Instagram led to another commission for Christmas by a lovely young lady and friend of my daughter's! She contacted me via her mom's Instagram account to ask me to make two pillow for her dad!

Pillow 1 for Keith, front

Pillow 1 for Keith, quilting detail

Pillow 1 for Keith, back

And the second one:

Pillow 2 for Keith, front

Pillow 2 for Keith, back

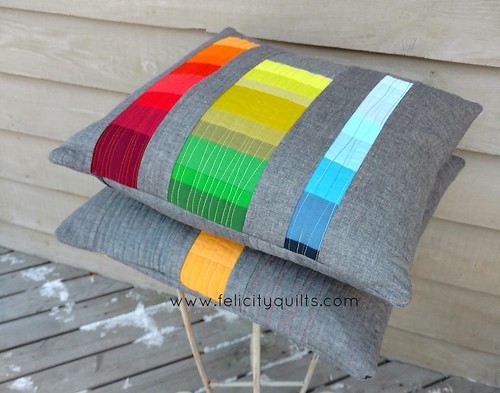
Pillows for Keith

I've committed to a local artisans' fair for next December, and I think these pillows will feature prominently in my inventory!

Wednesday, November 23, 2016

Improv Rainbow Throw Pillow

I had some strip sets left over from Anne's Bee Sewcial assignment, and I needed to make a throw pillow to donate to my daughter's school's fundraiser. Happy happenstance!

I pieced the strips with some chambray-type fabric of which I appear to have purchased a LOT of yardage. (I wonder what I was planning for it? I guess we'll find out eventually!)

I used Thermolam fusible fleece (Pellon TP971F) and quilted with Aurifil thread in various colours - grey in the background area, plus red, orange and yellow in the pieced bits. I just used my walking foot and stitched wavy lines from side to side. I like how the thread colour carries the colour of the pieced strip into the borders.
Silent Auction pillow - front

This is the back, which got the same treatment, but vertically.

Silent Auction pillow - back

My pillow was very well-received and my friend told me that she was engaged in a fierce bidding war for it with a sweet little boy who, according to his mom, loves colour. Mom wants me to make him a pillow as a surprise for Christmas and suggested a trade for some wine - one of the benefits of a school where all of the winemakers send their kids!

Sunday, February 28, 2016

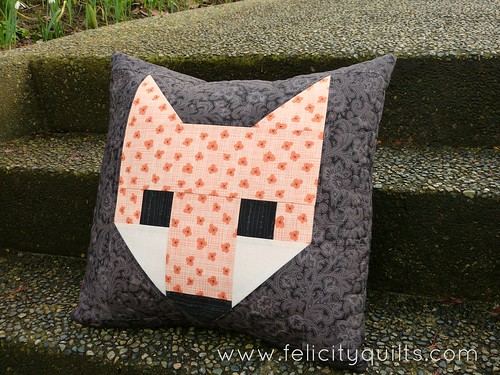
Fancy Fox II: Pillow

Every year, I donate something handmade to the silent auction at my friend/former co-worker's ringette team fundraiser. First it was a quilt, then I downsized a bit to pillows (this one, and this one).

I made four Fancy Fox II blocks into a quilt top in a VMQG workshop a few weeks ago, and they were so fast to make, I thought of the pattern right away for this year's Beaver Bash pillow.

fancy fox pillow

This is a 100% stash project. Foxy's face fabric is by Kate and Birdie (Canadian!) for Moda. The line is called Autumn Woods, from a couple years ago. The grey paisley is also Moda - the selvage says Moda Classics. Fancy Fox II is a pattern by Elizabeth Hartman.

It's quilted very sparsely - just an echo around the face and some stippling in the background. Since I used fusible fleece, I wasn't too worried about quilting density.

The pillow cover is about 20" square, and I stuffed it with a 22" pillow form to make it nice and plump.

Thursday, February 25, 2016

New Placemats

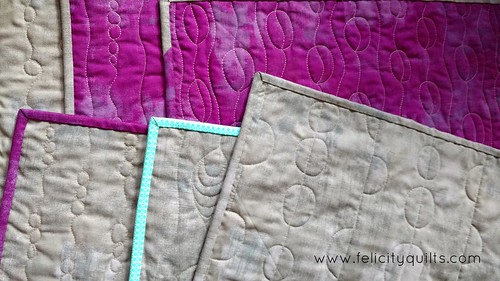
Finally! The placemats I made back in 2011 were so old and worn out, I decided it was time to make some new ones.

I used two charm packs of Mochi by Rashida Coleman-Hale for Cotton + Steel. Such fun, bright, funky fabrics! The pattern is just a quick Disappearing 9-Patch.


I backed them with some fun Moda grunge, which I also used for the bindings. And the quilting is different on each placemat. 
New placemats made with Mochi by Rashida Coleman-Hale for Cotton + Steel.

What have you sewn lately?

Monday, December 21, 2015

More Stuff I Made

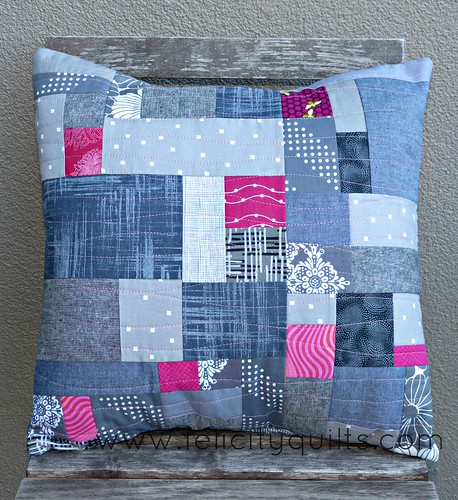
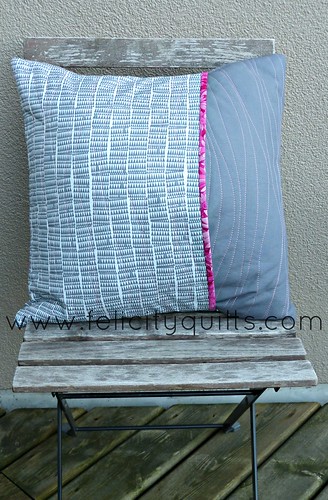
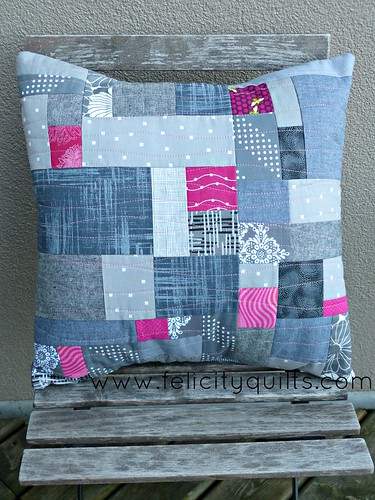
My coworker and friend Nicole changed jobs and left our department. As a going away gift, I made her a pillow:

Scrappy Grey Pillow

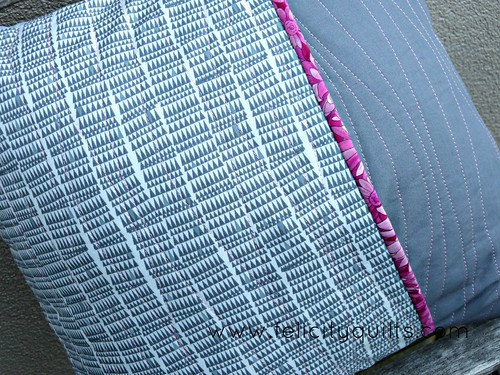
I pieced my grey scraps with a few pops of fuchsia on the front and back:

Scrappy Pillow Back

Quilting is just some wavy lines (in pink thread) done with the walking foot.

scrappy pillow cover back

This? This, I'm happy with. And so is Nicole, which is really what matters.

scrappy pillow

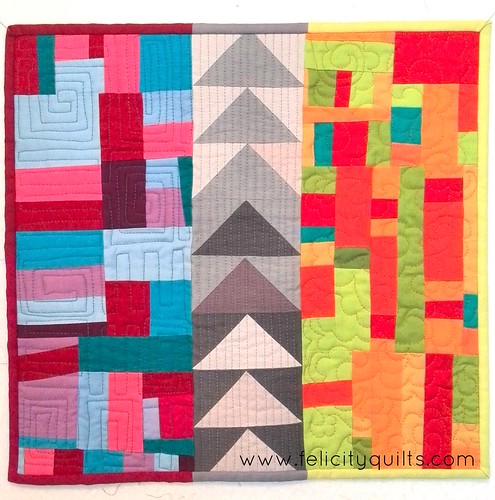
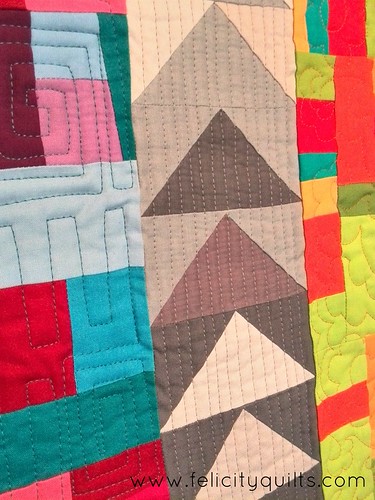
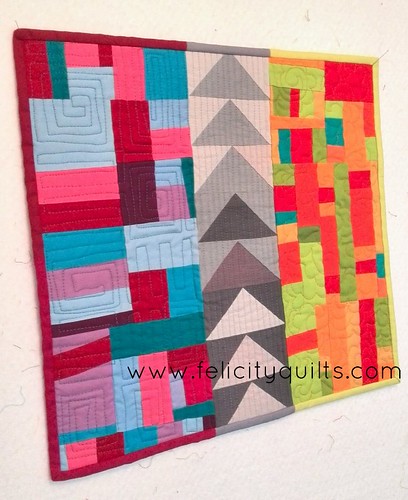
Vancouver Modern Quilt Guild repeated a really successful swap where we bring a ziploc baggie full of our own favourite scraps and someone else takes the bag and makes you something. I got a bag full of beautiful solid scraps from Arita, and made her this mini quilt I called Flying South.
Flying South

I wasn't sure at first how to deal with the scraps but once I got the idea to separate them in to warm and cool colours, inspiration struck. A rule of the swap was that the item you made had to include flying geese, so I used grey flying geese to transition between the two sections.

Flying South quilting

It's about 18" x 18", and is intentionally wonky in shape and size. Arita appreciates wonky. I had so much fun working with all solids.

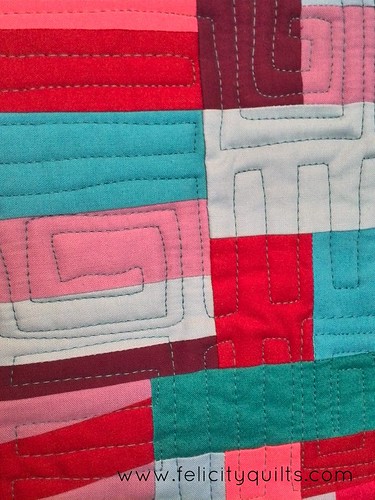
For the quilting, I did something different in each secion. A squared off maze design (done free motion) in the "cool" colours, with a cool-toned blue thread:
Flying South quilting closeup

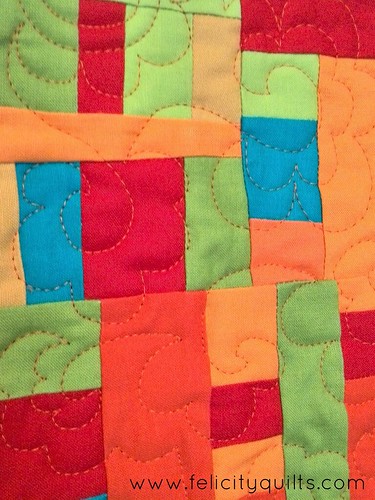
And a flowery motif in the warm section, with orange thread:
Flying South detail

And finally, some straight line quilting with grey thread in the grey section.

Flying South

I was so happy with how this turned out and I'm really pleased to report that Arita is too.

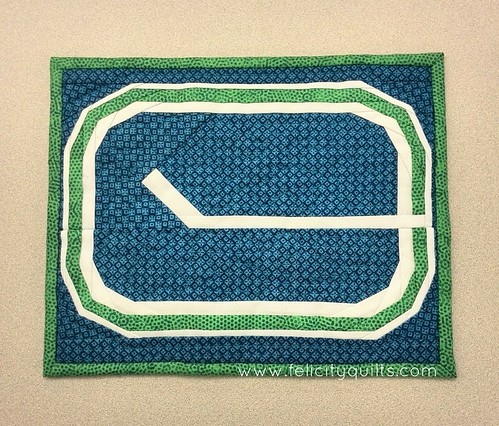
Recently at work, I needed a testimonial for one of our suppliers and asked the part of my team that used their product to email me a quick blurb. I sweetened the pot because these are busy folks and I wanted to give them an incentive to respond - I said that all submissions would be entered in a draw for something handmade from me. Despite this amazing offer, there was only one response. The "winner" selected a mug rug and when I asked what colours, he said, "How about Canucks colours?" This pattern by Sonja Artisania sprang to mind immediately.

Canucks mug rug. Pattern by  Sonja Callaghan

The winner loves it. Yay!

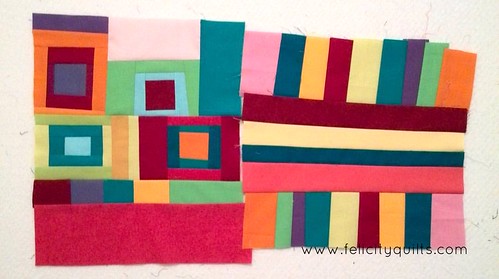
And finally, November's Bee Sewcial blocks for Leanne she can quilt. After two straight months of minimalism, Leanne decided to ask for maximalism - ALL the colours! I love LOVE the theme, and my blocks.
Both #beesewcial blocks for Leanne @shecanquilt. #beesewcial #inspiredbybeeswecial All of the colours + no rulers = fun.

I so enjoyed my Bee Sewcial experience in 2015 that I've decided to stay on for round 2. 

Happy Christmas, everyone - enjoy the holidays!

Wednesday, July 1, 2015

Teacher Gifts

I don't even know myself anymore - I completed teacher gifts more than a week early. After my success with Amy's tutorial on the VMQG blog for a quilted notebook cover for our inter-guild swap, I decided to make three more: one for G's classroom teacher (whose Mom reads this blog, I found out quite coincidentally), and one each for her two music teachers (we really lucked out with her school, I have to say).

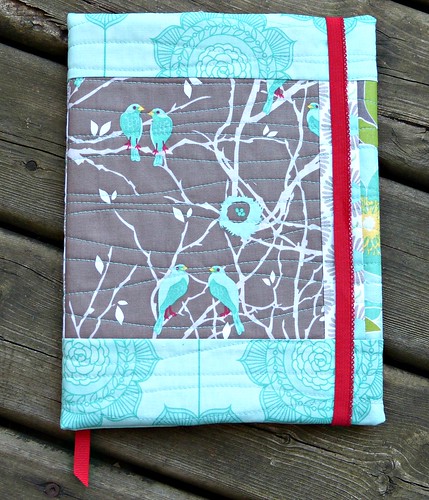
First up, Mrs. I's, which is doing double duty as my MQG Riley Blake Challenge project (#multitasking)!

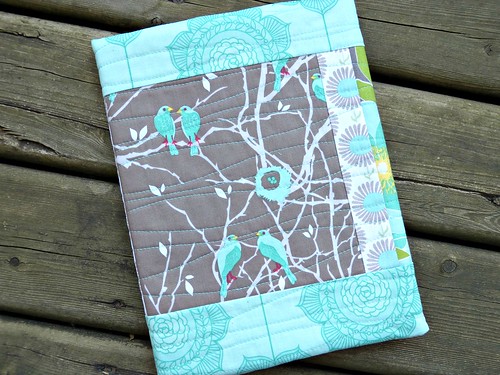
Notebook front
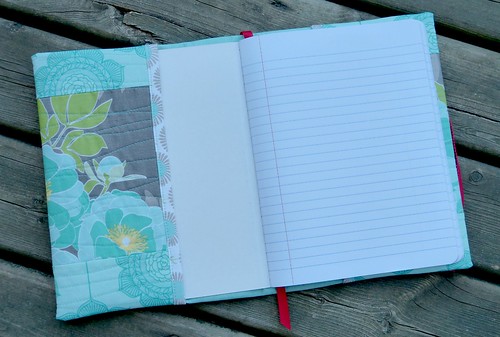
I took a queue from the red accents in the bird fabric for the elastic closure and page marker.

Notebook open

Notebook back

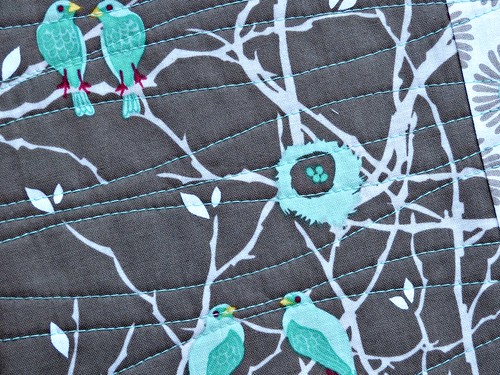
Quilted with my walking foot and my trusty Aurifil 40 wt in turquoise (5006):
notebook quilting

Next, Ms. Y-E:

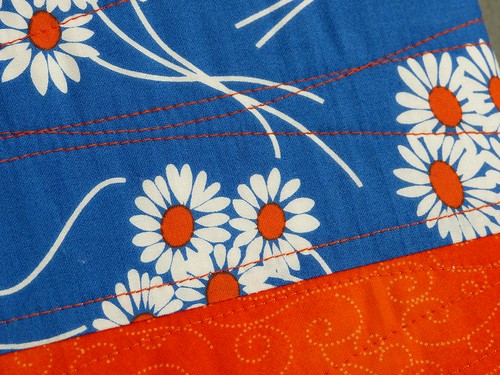
blue notebook front

blue notebook closeup

That's some original Denyse Schmidt Katie Jump Rope fabric as well as some random stuff from my scrap bin.

And finally, Ms. K:

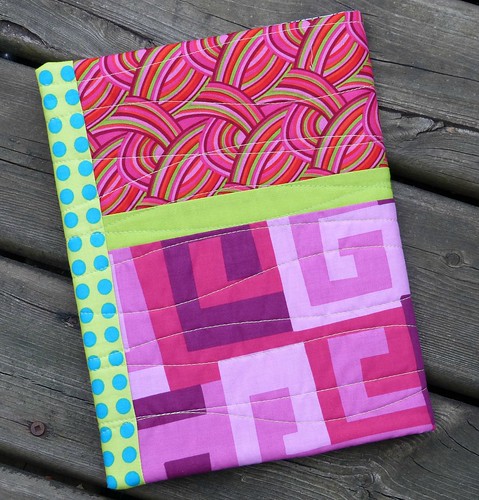
Pink notebook cover front

pink notebook inside

Also a scrap project. I had a lot of fun choosing fabric combos and in fact I think that activity took longer than the actual notebook covers themselves! If you look reeeeeaally closely, you can see a tiny bit of the lining fabric: black and white musical note fabric, fitting for music teachers.

These three wonderful women recognize and appreciate the time and effort that goes into handmade gifts, which is why I am so happy to do it.

Sunday, May 17, 2015

Improv Notebook Cover

The Vancouver Modern Quilt Guild is doing a notebook cover swap with our cousins across the Georgia Strait, Modern Quilt Guild Victoria. So fun!

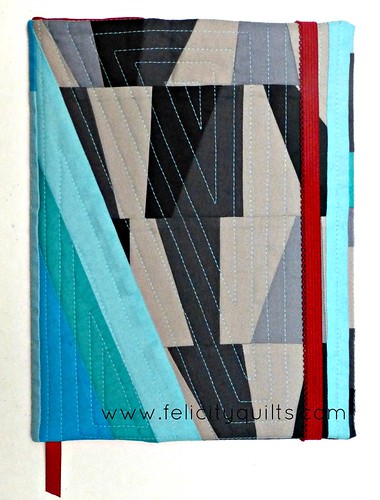
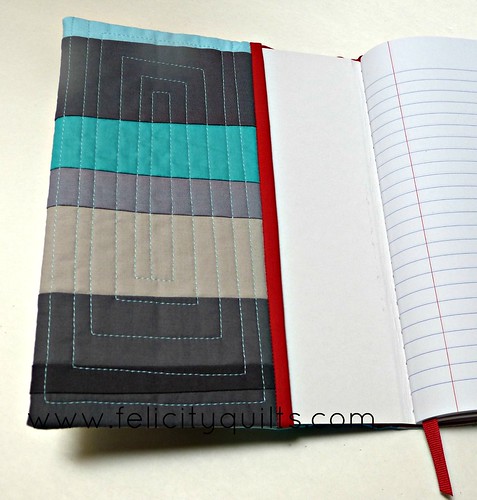
Amy wrote a great tutorial, so my cover worked out absolutely perfectly. If you're looking to make a notebook cover, you'll definitely want to check out her instructions. Here's what I made for my partner, who - lucky for me - likes improv piecing:

Notebook front

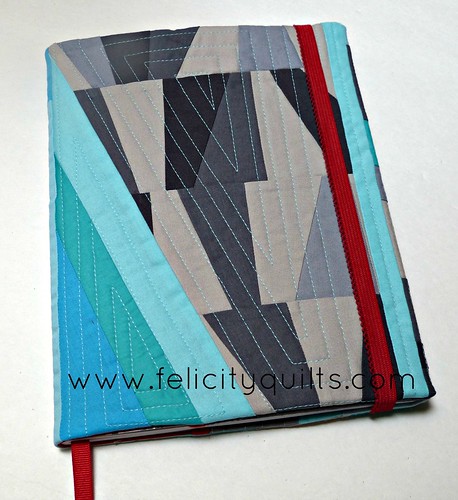
I began with the grey triangle and wasn't too sure I liked it but then I added those aqua strips and all was right with the world. I continued on with adding some strips and then quilted it with a combination of concentric squares/triangles and straight lines.

Notebook full front

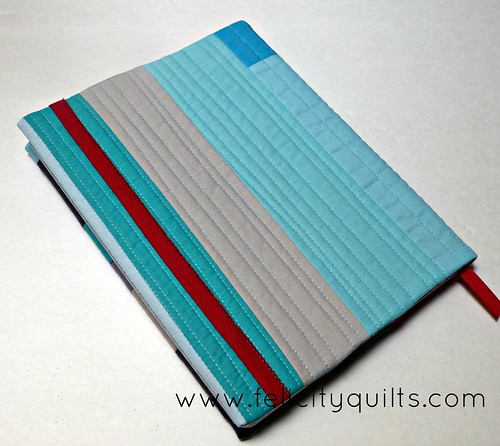
The back is a little plainer than the front:

Notebook cover back

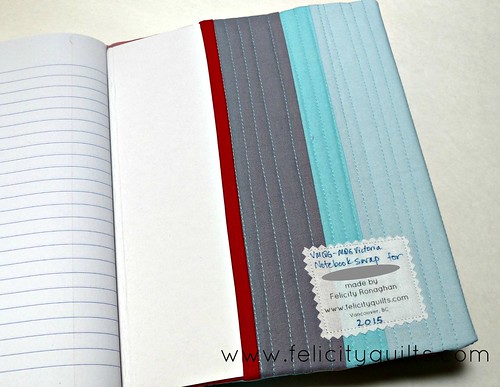
The red ribbon is a bookmark and the red strip you see in the photos is (bra) elastic with a cute scalloped edge that works to hold the whole thing together.

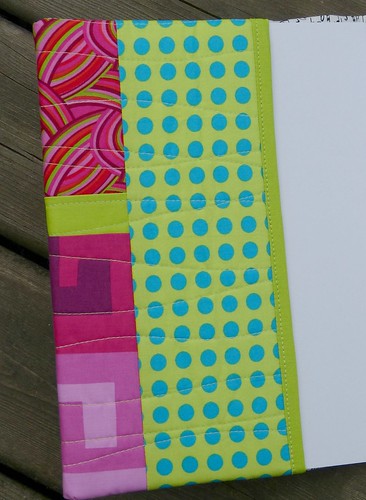
Here's what the front and back inside flaps look like - more red accents. The whole thing is lined with that red.

Notebook inside
Notebook for swap inside back

I hope my partner likes it!

And bonus - because this is made entirely from scraps, I get to link up this project to Scraptastic Tuesday with Leanne she can quilt and Nicky Mrs. Sew and Sow. Yay!

Tuesday, April 14, 2015

Ultimate Equipment Tote

I mentioned in my post on the Make It, Take It bloghop that I'd made one other project from the book besides my own. And here it is!

The Vancouver Modern Quilt Guild had Krista share her trunk show and book at our March meeting. As a little extra celebration, the executive decided to suprirse her with projects that we'd all made from the book. When we were divvying up the projects and "claiming" the one we most wanted to make, I was quick to choose the Ultimate Equipment Tote for mine.

Equipment Tote from Make It Take It
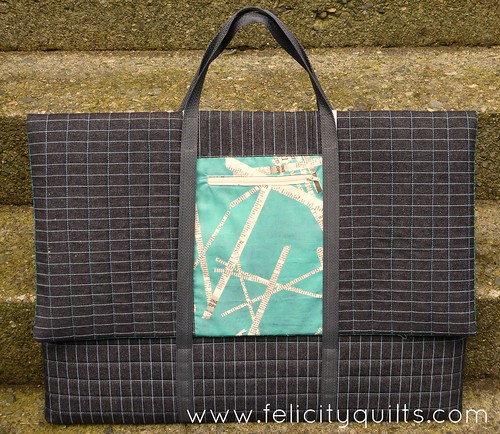
Tote Exterior. I used pinstripe denim and quilted lines in the other direction.

The pattern is by Berene (Happy Sew Lucky). I love it! Its construction is amazingly clever and it is a wonderful way to tote my cutting mat and rulers to retreats and sew-ins. No more chipped ruler corners! The tote finishes at 26½" x 19" and it fits my 18"x24" cutting mat and my quilting preview mylar that Krista Withers taught me to use.

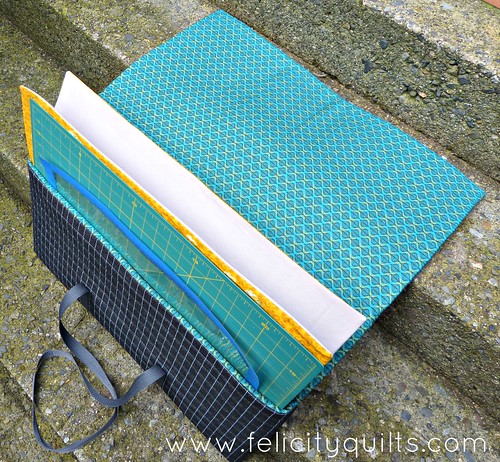
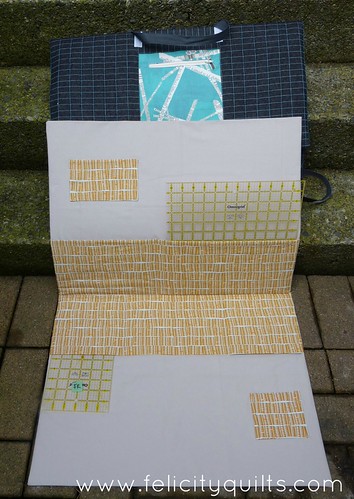
Equipment Tote open

For the tote's exterior, I used some pinstripe denim, then quilted straight lines perpendicular to the pinstripes to create a grid. I made one change to the pattern in that I used Annie's Soft and Stable instead of batting, so the bag has a lot of structure even when it's empty.

As for the interior, I adhered to my new motto about fabric (Just Use It Already) so this bag has some favourites. Precious Mendocino mermaids for the exterior of the ruler caddy (you can see a bit of it in the photo above), some Collage for the front pocket and some beautiful Doe for the interior accents:

Equipment Tote Ruler Insert
A 24" long ruler lies along the width of the caddy.

The fact that I get to see and use some beautiful, favourite fabrics makes me love this tote even more than I imagined I would. So do it - USE THE FABRIC. You may think it's making you happy in your stash where you can pet it an admire it, but believe me when I say that using it in a project (that you keep) is even more satisfying.

Edited: I am linking up to Fabric Tuesday at Quilt Story for the first time in forever! Yay!!

Tuesday, April 7, 2015

Make It, Take It Bloghop (With Giveaway)

Welcome to my stop on the Make It, Take It bloghop!


Way back over two years ago, Krista Poppyprint told me that she was going to write a book on retreats and asked if I'd contribute a project. I couldn't say yes fast enough. I was - and am - absolutely thrilled for Krista! All of the opportunities and success that this book and her Chess on the Steps pattern have brought to her are the culmination of over 10 years of really hard work and beautiful creations and I am so delighted to be a part of it all: as a contributor, a frequent participant in her day and overnight retreats, and as a friend.

Make It, Take It is a book that celebrates retreats, and features projects for taking your equipment, and projects you can make while you're there. Have you ever been on a retreat? If you have the chance, do it. I think what makes it so special for me is that it’s not just the time; it’s the space. Physical space for basting a big quilt is wonderful but more than that, retreats afford me metaphysical space that I need, too. On my annual overnight retreat, meals are announced with a chime. When it sounds, I slowly stop what I’m doing and go eat a meal someone else has planned and prepared. I eat it in communion with other women who, regardless of who or what we all are in other aspects of our lives, share a passion for creating. I’m a wife and a mother who works full-time outside the home, so freedom from the usual obligations and responsibilities of family and home and work is what I love most about retreating.

My pattern in the book is a set of placemats designed for a round table. If you aren't into scrappy projects, these placemats would look fabulous with just two colours of strips, maybe with a fun contrasting binding? Or you could use precut strips from one fabric line. Lots of choice! If you did your cutting ahead of time, you could get a very good start on a set of 4 during a long day retreat, and certainly finish them at an overnight getaway.


I came up with the concept after a visit with my Dad when I noticed his rectangular placemats weren't really working all that well on his round table. I didn't tell him I was making them for him (because surprises are so fun!), and it took quite a while before they actually went from idea to finished project (because of course they did). Once the placemats were finally done, I proudly mailed them off and he sent me a lovely thank you email when he got them. Shortly after I got the email - we're talking minutes here - my Dad called. He told me again how much he appreciated the placemats, how lovely they were. Then he paused and said, "Felicity.....I got a new table." I'll give you one guess as to the shape of the new table. Correct! NOT ROUND! Good sport that he is, Dad uses the round placemats on his square table (and they work really well, actually).
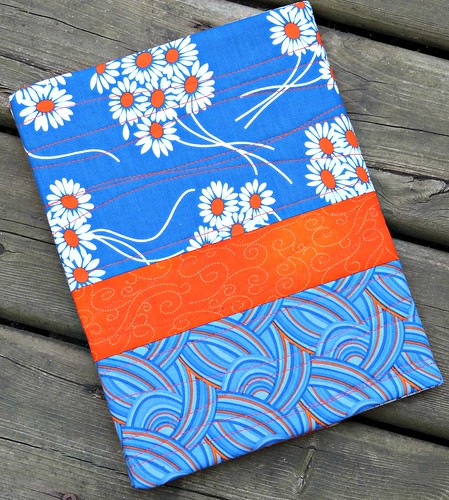
There are lots and lots of other projects in this book, and they're all fabulous. I've made one other one so far (blog post to come). Have a look a this list of contributors and fellow bloghop hostesses who'll be sharing their projects over the course of the hop:

Friday, April 4 Blog hop kick-off: Krista at Poppyprint
Monday, April 6: Berene at Happy Sew Lucky and Amy at During Quiet Time
Tuesday, April 7: Leanne at She Can Quilt and Felicity at Felicity Quilts
Wednesday, April 8: Martingale Inc. at Stitch this! (check out their Rainbow Round the Cabin staff party!)
Thursday, April 9: Krista at Spotted Stones and Krista at Krista Withers Quilting
Friday, April 10: Lynne at Lilys Quilts and Cindy at Live a Colorful Life
Saturday, April 11: Ayumi at Pink Penguin and Krista at Poppyprint
Sunday, April 12: Kristie at OCD: Obsessive Crafting Disorder and Christina at Sometimes Crafter

Now for the exciting part: how you can win your very own copy of Make It, Take It! Two books are up for grabs: one digital copy (courtesy of Martingale, the book's publisher) and one hard copy (courtesy of yours truly).

Simple entry rules:
- Comment on this blog post.
- One comment per person, please. I'd love to know where in the world you are, so if you want to include that in your comment, that's cool but optional.
- Make sure your email is attached to your profile (or if you're unsure, just include it in your comment to be safe, using AT and DOT to avoid spam) because if it's not there, I will have to choose another entry.
- International entries are welcome.
- I'll close this post to comments at some point on Friday, April 10th, probably around 8:00 pm Pacific, then use Random Number Generator to select TWO winners. One will win the digital copy, the other will receive the hard copy.  Edited: Giveaway closed and winners announced. Thanks for entering!