
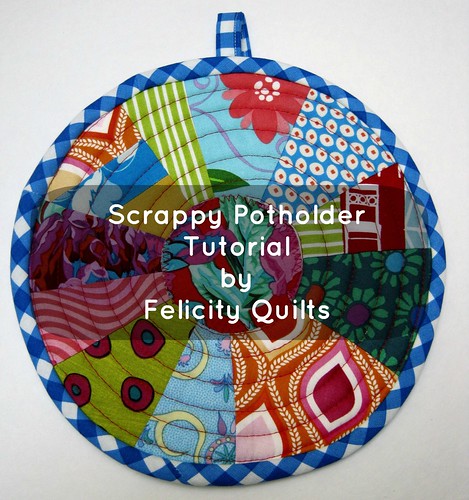
I made a set of round scrappy potholders for a potholder swap with our sister guild, the Fraser Valley Modern Quilt Guild and learned a lot in the process, including how to bind a round object. I'm delighted to share my step by step process with you.
Please do head on over to Sarah's and check out my tutorial! Click on the button below to be taken to her master list of wonderful tutorials. Enjoy!
I came across your tutorial via Fairy Face Designs. I'm your newest follower by the way. I shared/featured this on my blog with a linkback to this page and the guest blog tutorial page: http://koolbeenz-blog.blogspot.com/2012/04/featured-quilter-scrappy-potholder.html
ReplyDeleteFeel free to grab my featured button if you like.
@pril
KoolBeenz-blog.blogspot.com
For-the-Love-of-Pie.blogspot.com
Thank you for the tutorial, I have never made a circular bias binding and now I know how.
ReplyDeletecool! nicely done!
ReplyDeleteSo fun, Felicity! Great tute, will have to give it a go one of these days :)
ReplyDeleteAha, very nice!
ReplyDeleteI missed this the other day. I love your potholder and have yet to make a round one. I'll have to give it a try!
ReplyDeleteI've tried binding round things with little success. This may be just what the doctor ordered. Such a pretty potholder!
ReplyDeleteAwesome tute Felicity!! And I am the proud owner of the originals- which are still hanging on my wall in my art studio- heehee!! :D
ReplyDeletebeautiful potholder! i adore the blue gingham you used for the binding. your circular binding looks amazing!
ReplyDelete