Showing posts with label 2011 Finishes. Show all posts

Thursday, December 29, 2011

2011: Another Year In Review

I hope you had the kind of holiday that you were hoping for - we sure did. Christmas was peaceful and joyous, and the days leading up to it were lovely too. Here's my sweetie on Christmas morning surveying what Santa brought. (Aside: in an uncharacteristically brilliant and forward-thinking move, we had Santa be in charge of filling the stocking with mostly useful stuff like socks and toothbrushes, plus one small fun/toy thing thereby leaving all the credit for the most awesome stuff - now and in the future - for us.). She's wearing a fabulous nightgown made by my Mom - totally took me back to the ones she used to make me and my sisters for Christmas.


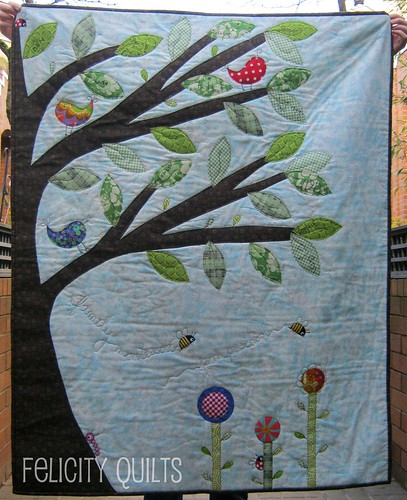
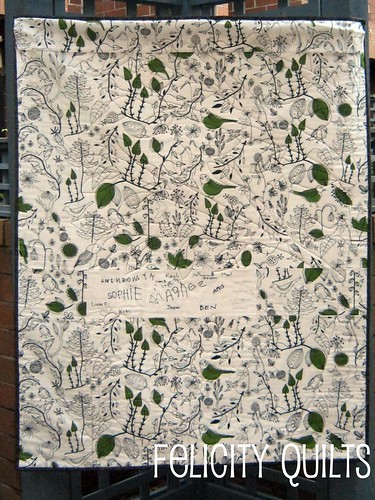
As I was mentally composing this post, I thought to myself, 'well this is going to be short, boring one - I didn't really get anything done!' But after assembling my mosaic of quilty finishes, I forced myself to take that back - what I didn't get done was most of the projects on my 2011 Quilty Goals List. Instead, I did other stuff, which is 100% A-okay. Life is what happens while you're waiting for other things or whatever that saying is, right?

Here is my Quilt Life of 2011:

2011 Quilts

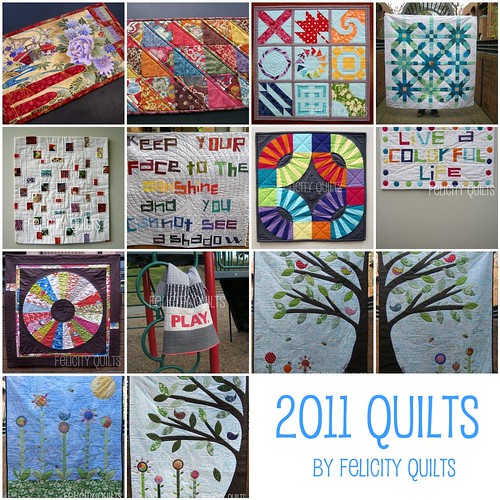
Not too shabby if I do say so myself! The projects weren't large, but they were appropriately plentiful for this quilter who works full time outside the home and who occasionally has to give the other members of her household some quality "face time."

But wait! There's more! The above is in addition to the sewing I did for Bees as well as other sewing projects like teacher bags, swap extras, hallowe'en costumes, etc.

Not too shabby indeed.

What is 2012 going to bring? Let's have a look at 2011's list and update it:

1. Sewing Machine Cover. The original one turned into my confetti mini and I haven't gotten around to making myself one yet. Maybe this year but I'm not going to make it an official 2012 goal.
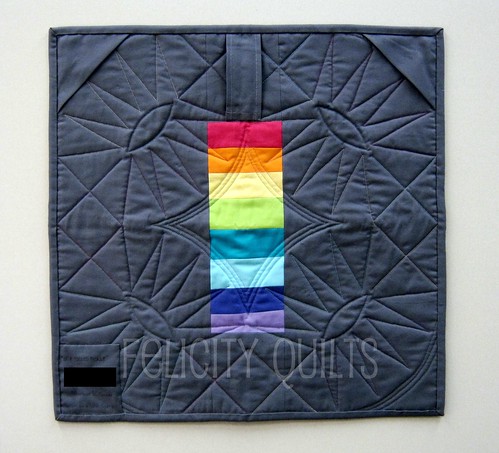
2. Rainbow I-Spy. Carrying this one forward to 2012 but probably later in the year. Every now and again, poor G asks whether it's finished and I always have the same answer: "not yet."
3. Fresh Air Charm Quilt. Dunzo! Became the placemats that we use every day - I love them!
4. New Wave. Fabric is all cut, and I even started the backing. 2012 goal.
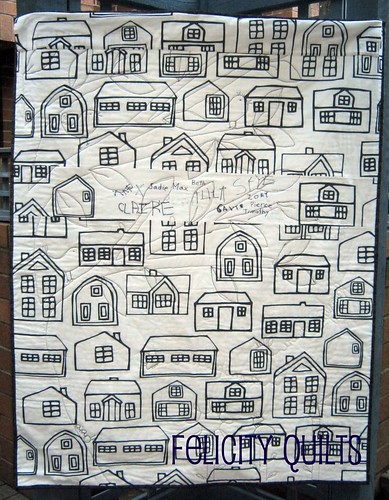
5. Traffic Jam/Zig Zag. 2012 goal - can be substituted for any charity quilt.
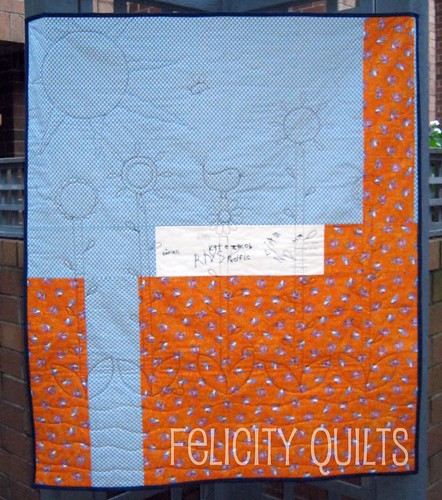
6. Friend's daughter's memory quilt. 2012 goal.
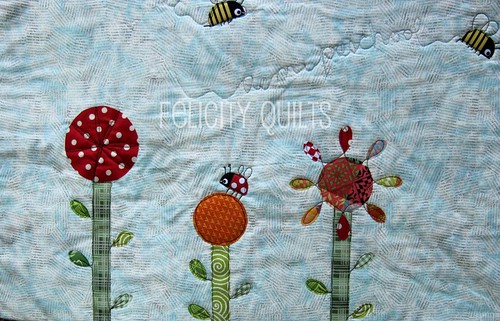
7. Bees. Kept up with them and have only one for 2012.
8. DQS 10 - Done!
9. Lily's Quilts QAL. Done!
10. Supernova QAL. Done!

In view of the foregoing, I am declaring 2012 the year of sewing for ME! Not necessarily things for me to keep, but things (quilts, mostly) that I want to make for others in my life. Those quilty goals include:

1. Rainbow I Spy for G.
2. New Wave for niece.
3. Traffic Jam/Zig Zag or other charity quilt.
4. Heather R. memory quilt.

plus:

5. Habitat pillow covers for sister.
6. Placemats for Mom.
7. My own bee quilts (3, once I have my month in Stash Trad).
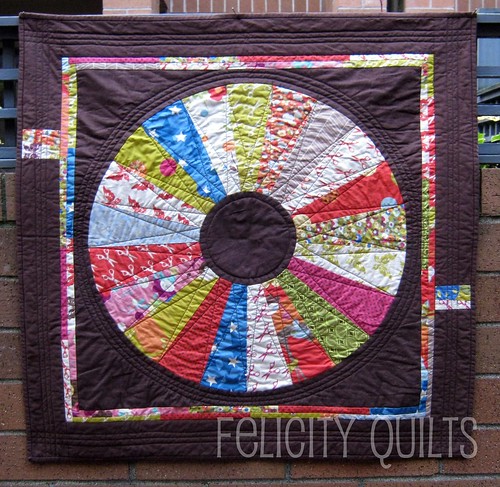
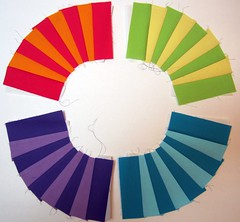
8. Kaleidoscope QAL quilt.
9. Super exciting project that I will reveal very soon.

I daresay that list should keep me (mostly) out of trouble.

Tuesday, December 13, 2011

Done With Trees For A While

I made a third three quilt, this time as a commission (my first! woot!). A good friend and her sister wanted me to make a family tree quilt for their folks.

It's very similar to the preschool tree quilts, except I quilted the names in the leaves. I'm very pleased with how it turned out!

Family Tree quilt


A closeup of a couple of the leaves. I mixed the names up on the tree rather than having each sibling's family on its own branch but I used the same leaf fabric for each family.

quilted names closeup


I hope my friends' parents love it! I'm done with this design for a while, though.

Speaking of families, my daughter's birthday weekend was very successful. Everyone had fun at her pool party, and we had some lovely family time with Grandma on her actual birthday (Sunday). Here is the birthday girl making an expression that belies her enjoyment of the gorgeous handmade birthday crown I ordered from Maureen.


Monday, November 28, 2011

Preschool Quilts! Are! Finished!

Dunzo! Finis! Hooray!

I could not be more happy with how these quilties turned out, not to mention the fact that they're done two and a half weeks ahead of time.

These are for a live-auction fundraiser for my little girl's preschool. There is a Kindergarten group, and a morning and afternoon preschool class. Usually each one has its own item to auction off. So Mother of the Year here volunteered to make a quilt for each group, with the kids' participation.

While I loved what Angela did here, I figured that might be a wee bit too advanced for 3 to 5 year olds, and settled on having them write their names on a leaf to add to their class's quilt. I helped the littler ones if they needed it, either by writing their name for them altogether, or by adding their name where what they'd written was a bit tough to decipher.

Everything was adhered using Heat n Bond light, which, when you use as much of the stuff as I did, really gums up the machine needle and causes the bobbin thread a fair bit of consternation. But I persevered, and I love how they turned out.

Kindergarten quilt - a garden for the kindergartens! 42" x 49" - a large wall-hanging or a small coverlet.

Kindergarten quilt

Detail shot of the cuteness (all the bugs were fussy-cut from a scrap without a selvage so I have no clue who made it).

Kindergarten quilt detail 2

Here's what the back looks like:

kindergarten quilt back

Morning Class quilt, which finished at 42"x54":

am preschool

Detail shots:

am preschool quilt detail 4
am preschool quilt detail 3

Back (fabulous IKEA fabric!):

a.m. preschool quilt back

Afternoon Class quilt, which finished at 42"x53":

pm preschool quilt

Some more details:

preschool quilt detail 2
preschool quilt detail 1

Back (more fabulous IKEA fabric):

p.m. preschool quilt back

Clever readers may have noticed that the two AM/PM preschool quilts are a diptych - here they are side by side.

am preschoolpm preschool quilt

Waaay more photos (yes, there are, in fact, more) may be found in my Flickr photostream, and I am linking up all over the darn place with these lovely finishes, including Finish It Up Friday at crazy mom quilts and these other places:

{Sew} Modern Monday at Canoe Ridge Creations


Sew Happy Geek

Fresh Poppy Design


Fresh Sewing Day


Friday, November 18, 2011

Friday Felicities #15

This FF post is the Late Edition! But no less full of happy.

What has made me happy today is that we have a "sister" Modern Quilt Guild - the Fraser Valley Modern Quilt Guild. "Greater Vancouver" covers a pretty significant area, and people who live in the suburbs to the east of Vancouver found it really challenging to make it to the VMQG meetings. So they started their own Modern Guild!

We are winding up our very first inter-guild activity: a potholder swap. VMQG members received the name of a FVMQG member (and vice versa). We had a very short questionnaire to complete to give our partner some ideas of our tastes and preferences. Our potholders need to be in the mail by the 30th of November.

Mine have been done for a while (what is with me these days, finishing stuff before deadlines??) and I was waiting to show them off at the VMQG meeting last night. Now I can mail them to my lovely partner.


A bit of process for those who are interested....I knew I wanted to do a wheel with wonky/uneven segments. I traced a mixing bowl, and then drew randomly-sized pie pieces. Using that as a foundation, I used my scraps sewed down each segment in turn. I pieced a couple of the segments using some strips to amp up the Scrappy. I got a little flummoxed at the last segment, but managed to figure it out/fudge it. I realized after piecing BOTH potholders that I should have made two half-circles and sewed them together. Next time!

The centre circle, I made using this fabulous tutorial by Krista - Poppyprint. After fusing it on, I zigzagged around the outside to secure it.

I consulted a few different online tutorials and ended up choosing to line the potholders with one layer each of: Insul-Brite, canvas and Warm and Natural 100% cotton batting. Backing and binding (bias, of course, for these circles!) are from a thrifted IKEA duvet cover. Quilting was in grey, in a spiral pattern, simply using the outside of my walking foot to keep the lines more or less even.

I'm really, really pleased with how they turned out, and I hope my partner is too.

Potholder Swap

Have a great weekend!

Edited: I'm linking up to Sew Modern Monday and Manic Mondays at SewHappyGeek (see right sidebar for buttons).

Sunday, October 9, 2011

Wonder Wheel

This quilt was a long time in the making! I joined the Big Fat Dresden Quilt Along over at Lily's Quilts back in March (gah!), got the top done in relatively good time. Then I got distracted by other things (ooh, shiny!), basted it, and then it stalled again.

I began to feel like I was drowning in WIPs, yet I was (happily) starting yet more projects, and it was stressing me out.  Plus I didn't know how I wanted to quilt it. More stress. This hobby isn't supposed to be a source of stress!

So I just went ahead and finished it. Of course, it took like two evenings to quilt. Isn't that always the way? We think a project or task is going to be yooooooge and it isn't.

Three cheers for Wonder Wheel!

Hip, hip, hooray!

Wonder Wheel full frontal

Hip, hip, hooray!

Wonder Wheel quilting

Hip, hip hooray!

Wonder Wheel and kiddo
The Child "helping" with the photo shoot.

Details:

Size: about 35" square
Pattern: Dresden Quilt Along, Lily's Quilts
Quilting: straight line with walking foot using 28 wt dark brown Aurifil thread.
Fabric: mostly Wonderland by MoMo for Moda, with a couple of extra prints thrown in to round it out. The solids are Robert Kaufman Quilters Linen in (I think) Chocolate for the centre circle and around the Dresden Wheel, and Kona Coffee for the borders and binding.

I still adore Wonderland, and I've got some more to play with (but maybe not til the new year, says the woman with a massive To Do list). In any case, this one's staying with us!

Linking up everywhere I can again - {Sew} Modern Mondays (on the 17th), Manic Mondays, Fabric Tuesday (links all over there on my sidebar), and a new linky party over at pieceful life for little quilts on Mondays, the works!

Sunday, September 11, 2011

For the Love of Solids Swap - extras

In addition to the "large item" we make for our partners, we are asked to include a "small item." I decided to make my partner a pouch.

I already had some blue zippers on hand, so the pouch was built around that feature.

This is the BACK of the pouch; the front has my partner's initials on it so it has to stay secret for now. I forgot to measure it, but it's pretty roomy. Probably about 8"x10" or so?

FTLOS pouch (back)

The outer colours are little subdued (Kona Medium Gray and I think Kona Caribbean for the blue bit), so I went wild with the inside:

FTLOS pouch inside

[Somewhat off-topic, but that colour red (Kona Chinese Red) reminds me of the first bedding I bought for myself after moving out on my own for grad school. It was from IKEA - a royal blue paisley duvet cover with accents of all kinds of jewel tones (hello, 1993!!), and a sheet set in that dark red. I felt *very* grown-up and not a little naughty with my red sheets.]

Okay! Back to the pouch! I quilted it with some gorgeous 28 wt Aurifil thread in random straight lines that remind me of shattered glass.

FTLOS pouch quilting detail

I also included a FQ of the Kona Chinese Red, and sent off my package to faraway places last Thursday. I hope it arrives safe. And soon!

Linking up to Sew Modern Monday and Manic Monday at SewHappyGeek.

{Sew} Modern Monday at Canoe Ridge Creations

Sew Happy Geek

Thursday, September 8, 2011

Friday Felicities #5 - For the Love of Solids

Felicitous news, Followers! This Friday's Felicity is that I have a FINISH to share! (Aside: why do so many of my Friday Felicities involve the letter F? Such fortuitous alliteration!!)

I swore off swaps and bees.....and promptly joined a swap and a bee. Whoops. Anyway, this swap was really interesting - all solids! My collection of solid fabrics isn't that impressive (mostly limited to white, off-white and 3 shades of grey) but thank goodness I'd just put in an order with Brenda from Pink Castle Fabrics for a rainbow of Bella Solids (Moda). Pretty!

I browsed my secret partner's favourites, and it looked like she'd enjoy a New York Beauty mini quilt. I mulled and mulled. And mulled some more. Printed out a foundation piecing template. Mulled it over some more. Then, inspiration struck when I was leafing through a Kaffe Fassett book at the library and I switched courses slightly to a pickledish quilt.


The mini quilt came together quickly after that. I foundation pieced some arcs.
FTLOS progress

Then I needed to choose a background, and ended up with door #1: Kona Coal.
Which background?

Then I had a quilt top in need of quilting.
FTLOS Mini quilt top

I asked for -- and got -- some great advice from my Flickr posse and here's the final result. May I introduce, "In a (Solid) Pickle."
In a (Solid) Pickle
The centre really isn't that floofy - it's from being folded up and I photographed it at work (on the shipping deadline day) so no pressing available.

In a (Solid) Pickle back
Looks kind of New York Beauty-ish, doesn't it?

It's 20½" square and I am really proud of it!

I used 5 different colours of thread to quilt this. Grey for the echo quilting, and then a different colour in each of the 4 different arcs. You can see the colours a little more clearly in this photo:
In a (Solid) Pickle quilting detail back

And the quilting on the front, in detail:
In a (Solid) Pickle quilting detail

All in all, a solid (geddit? HAHA I crack myself up) effort, I'd say. I hope my partner agrees!

One more photo? OKAY!

In a (Solid) Pickle full frontal

There is another little goodie that was in the package; I'll blog about that in a couple of days. Patience, my lovelies! Have a great weekend!

Tuesday, August 9, 2011

Playmat for PKU

I mentioned earlier that a friend from prenatal class has a little girl with PKU, and CanPKU is having its annual fundraiser in September.

I made this playmat as an auction item and I'm so pleased with how it turned out! It was super fast to put together and the black and white fabrics were fun to use.

Playmat Front
The whites look wonky here; there isn't *that* much variation in the white backrounds

Closeup of the "Play." and quilting detail. I used my Bernina wave stitch and red thread (Aurifil - my one true thread love) and I am very happy with it - I got tons of great suggestions when I asked for help but I chose the easiest/quickest option, natch. By the way, did you know that there's a Flickr group devoted to getting quilting advice? Everyone there is great - I highly recommend it.

playmat detail

Styled at the local playground - fitting, no?

Playmat at Playground

The back and binding is just a red/white fabric from my stash. Actually, this whole quilt is a stash quilt - yay, me!

Playmat Back

Speaking of the binding - which is attached by machine - I followed this tutorial and used fusible thread to fuse the binding down to keep it in place while I sewed it. I know others use basting glue for that purpose, and I was maybe likely doing it wrong, but it didn't hold as well for me. My only problem was that I think I scorched the back a wee bit while pressing down the binding. Hopefully that will wash out (she says anxiously).

Linking up (late) to Fabric Tuesday at Quilt Story!

Sunday, June 19, 2011

Helen Keller Wisdom (My Kona Solids Challenge Quilt)

"Keep your face to the sunshine and you cannot see a shadow."

Isn't that a terrifically positive message? Whenever I am asked what my favourite quote is, I always share this one. I love Keller's turn of phrase as well as the very important message, so I never miss an opportunity to share it with others.

When the Vancouver Modern Quilt Guild got its hands on some Kona Solids Charm Packs in the dark colourway, the challenge was issued to make a quilt that featured them. I initially thought of a stacked coin layout, but then this idea just popped into my head, and I'm so glad I followed my gut. Because I. Love. This. Quilt.

HK Wisdom front.1

I started by separating the yellow/orange charms and the dark grey/black charms to use for the letters in the words "sunshine" and "shadow", then just cut the other charms in the order in which they came, mostly using one charm per letter. All the charms were used on the front of the quilt, and the background is Kona Medium Grey. This quilt measures 46" x 41".

I free-pieced the letters, using a few Flickr favourites as inspiration. You'll see that not many letters got done the same way twice (I think there are 5 different "e" variations), but I like that about this quilt. Everything was pretty outside the box, for me at least.

HK Wisdom back

I quilted it in concentric circles beginning around the first letters in the word "sunshine" - I felt like that part of that word was really key to the whole thing, which is why that word is placed on its own. The first three circles are quilted in yellow rayon thread, and the rest were done in a dark grey 50 wt thread to give texture without distracting from the charms.

I did pretty well with positioning that little pieced bit so that the circles surrounded it, didn't I? Kind of pleased with myself on that one. True confession: I had four rows of stitching done before I realized I'd started in the wrong spot (a little farther to the right). I debated about ripping it out, but I decided it meant a lot to me to try to get it positioned exactly right, so I unquilted those bits, and I'm glad I did. It would've bugged me forever.

I used the no-show binding again and I must say I really do love how it looks. So tidy and neat. And it seems to get done more quickly than regular binding.

I was choked that a work function conflicted with the VMQG meeting where the guild's challenge quilts were shared, but I will bring it to next month's meeting anyway.

HK Wisdom front

I've a friend who's going through a difficult time, so I will be gifting this to her. It was so fun to make, and while the free-pieced letters were time-consuming, they were a LOT of fun. You should try it!

Linking this up to {Sew} Modern Monday at Canoe Ridge Creations and Fabric Tuesday at Quilt Story! 
{Sew} Modern Monday at Canoe Ridge CreationsFresh Poppy Design