

I began this quilt in a workshop by my lovely and talented friend Krista (Poppyprint) Hennebury. MQG members might recognize the pattern from the MQG Pattern of the Month series - this is Miss September. My quilt's name is the result of some wonderful suggestions I got on Instagram - Twist of Lime, Citrus Twist....but I wanted to include the grey somehow, and I thought of clouds...and the rest just fell into place.
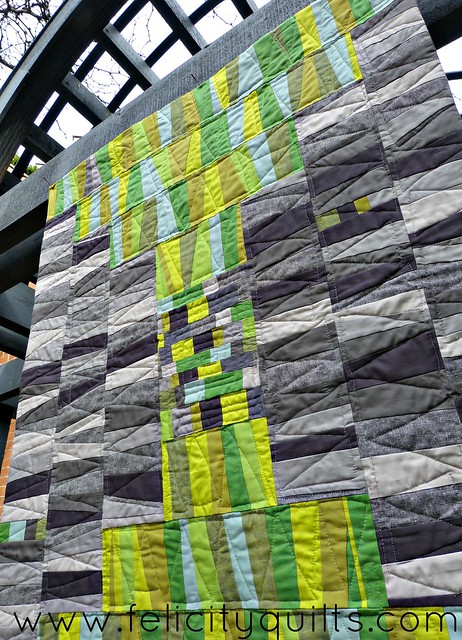
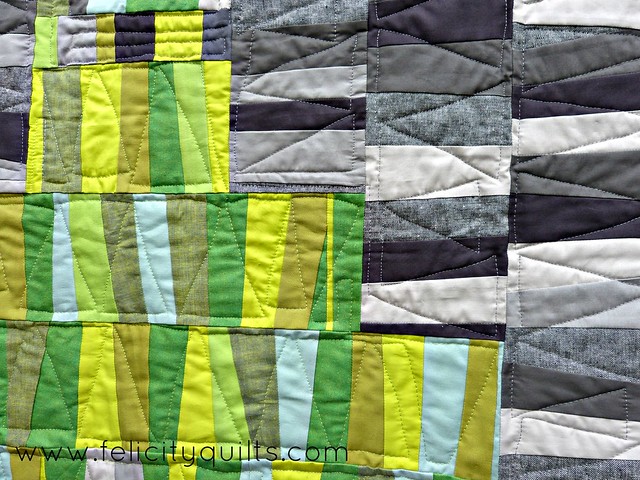
I quilted each area using a matching thread. The green is 40 weight Aurifil 3320, and the grey is Aurifil 2605 in 50 weight. I FMQd some triangleish zigzags and just travelled where I needed to when I got to end of a row. Let's call it a design decision.
It's not large - only about 29" x 40", but it fits perfectly in our stairwell at home.
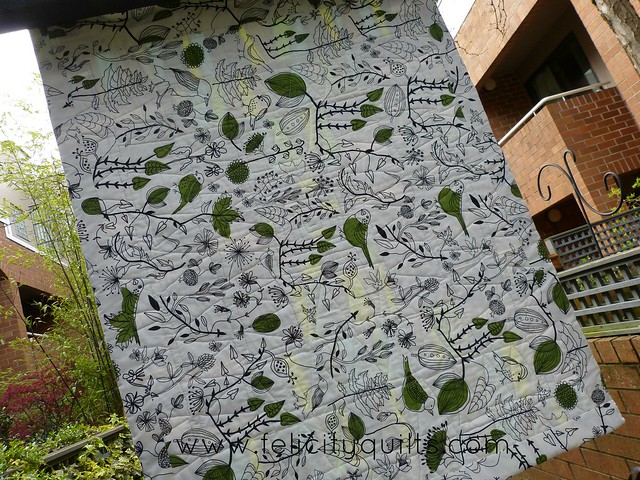
I backed it with some old IKEA bird fabric I had floating around, and I faced the quilt rather than using a traditional binding. You can see the facing, which is about 1.5" wide, on the back of the quilt if you look closely.
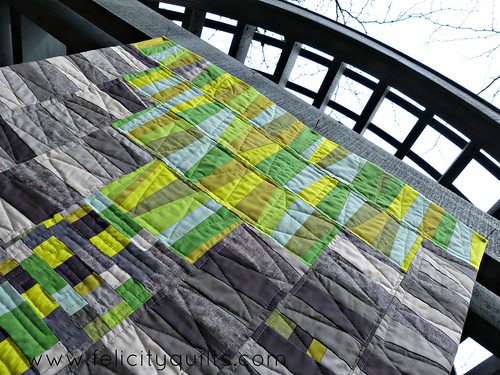
Here's my requisite "up shot" - I will miss the arbours in my townhouse's courtyard when we move. It's the perfect quilt-photography spot.

Love the colors (of course, they are my favs) and I LOVE the name!
ReplyDeleteThis is beautiful! I really like your version AND your quilt's name AND your arbors - I will miss them too! ;-)
ReplyDeleteThis is so good, the colours are fantastic. I love this pattern, I have fabric to make another and should just do that soon.
ReplyDeleteThe perfect name! It is a wonderful little quilt!
ReplyDeleteBrilliant name ; )
ReplyDeleteLove the quilt too
Love it all! Great choice for quilting - enhances design rather than becoming the focus. Tell me more re "facing" your quilt? Is this explained somewhere on your blog?
ReplyDeleteHi JC! Thanks for your lovely comments. You're a no-reply blogger so I can't reply by email to your question. I hope you see this! Facing a quilt finishes the edges but there isn't a binding that shows on the front. Instead, you fold the facing to the back of the quilt and stitch it down. It finishes the quilt in a really nice "clean" way, and I find that it's great for wallhangings and mini quilts. I used Terry Aske's tutorial here: http://www.terryaskeartquilts.com/Studio/tips-tutorials-and-more/my-new-favorite-quilt-facing-technique/.
DeleteThat is such a creative quilt! And of course - the colors are my favorite!! Great job!!
ReplyDeleteI like, I like!
ReplyDeleteI love this one - very zingy and fun.
ReplyDelete